
Installation
Follow this step-by-step guide to install the Webkul Magento 2 Order Edit module on your store.
Step 1: Download and Extract Module
- Log in to your Webkul Store Account.
- Navigate to My Account → My Purchased Products.
- Locate Magento 2 Order Edit and download the ZIP archive.
- Extract the contents on your local workstation.
Step 2: Upload Files to Server
- Connect to your server using SSH or SFTP.
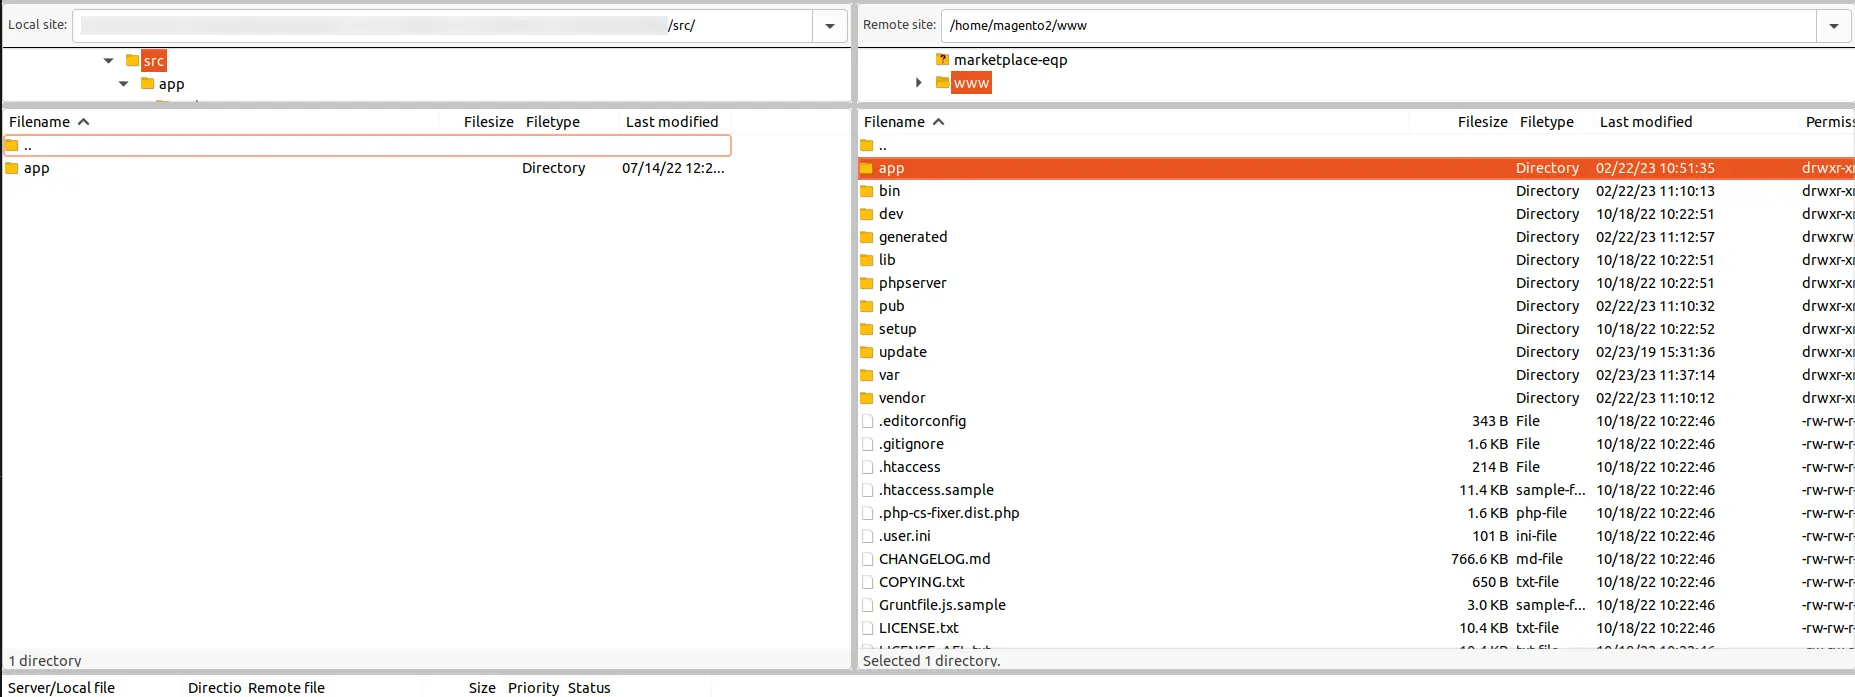
- Navigate to your Magento root directory (
<magento-root>). - Verify or create the destination directory
app/code/Webkul/OrderEdit. - Copy all extracted module files into
app/code/Webkul/OrderEdit.
mkdir -p app/code/Webkul/OrderEdit
cp -r /path/to/extracted/OrderEdit/* app/code/Webkul/OrderEdit/
Verify that registration.php and composer.json are present directly at app/code/Webkul/OrderEdit/:
ls -la app/code/Webkul/OrderEdit/
Step 3: Run Magento CLI Commands
From your Magento project root directory, run the following commands in sequence as the Magento filesystem owner:
# 1. Enable module and apply database schema declarations
php bin/magento setup:upgrade

# 2. Compile dependency injection, plugins, and repositories
php bin/magento setup:di:compile

# 3. Deploy static view assets for adminhtml and frontend
php bin/magento setup:static-content:deploy -f

# 4. Reindex data collections
php bin/magento indexer:reindex

# 5. Flush Magento system cache
php bin/magento cache:flush
Production Mode
If your store is running in production mode, ensure you run setup:di:compile and setup:static-content:deploy -f during a planned maintenance window to prevent cached layout errors.
Step 4: Configure the Message Queue Consumer
The module utilizes Magento's Message Queue framework (orderedit.email.send) to deliver email notifications asynchronously. To process queued notification messages, the queue consumer must be running.
Manual / Testing Execution
To start the consumer process manually from the CLI:
php bin/magento queue:consumers:start orderedit.email.send
Production Setup: Supervisord Process Management
For production environments, run the consumer under Supervisor or a systemd service so that it restarts automatically if stopped.
Create a Supervisor configuration file at /etc/supervisor/conf.d/magento-orderedit-consumer.conf:
[program:magento-orderedit-consumer]
command=php /var/www/html/bin/magento queue:consumers:start orderedit.email.send --single-thread --max-messages=1000
directory=/var/www/html
autostart=true
autorestart=true
user=www-data
numprocs=1
redirect_stderr=true
stdout_logfile=/var/log/supervisor/orderedit-consumer.log
Update Supervisor to launch the consumer:
sudo supervisorctl reread
sudo supervisorctl update
sudo supervisorctl status
Magento Cron Execution
If your store utilizes Magento's built-in cron runner (bin/magento cron:run), consumers declared in queue_consumer.xml are also spawned periodically by the consumers_runner cron job if configured in env.php.
Step 5: Language Translation (Optional)
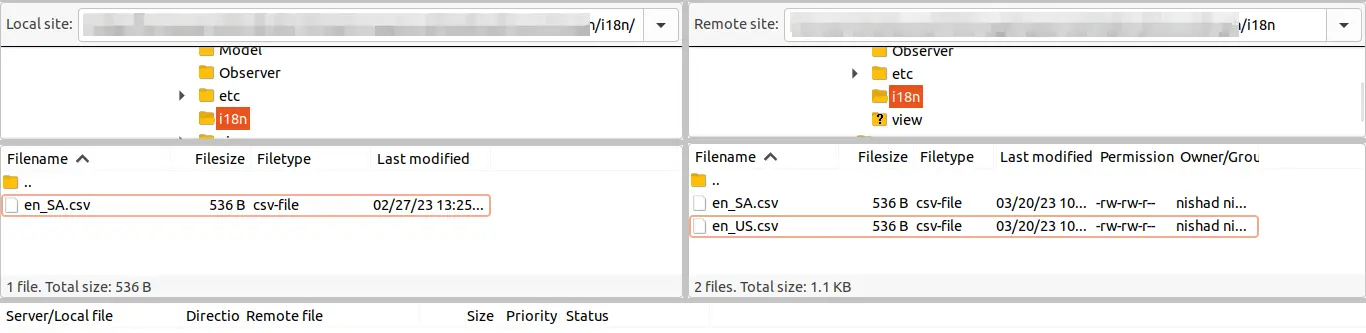
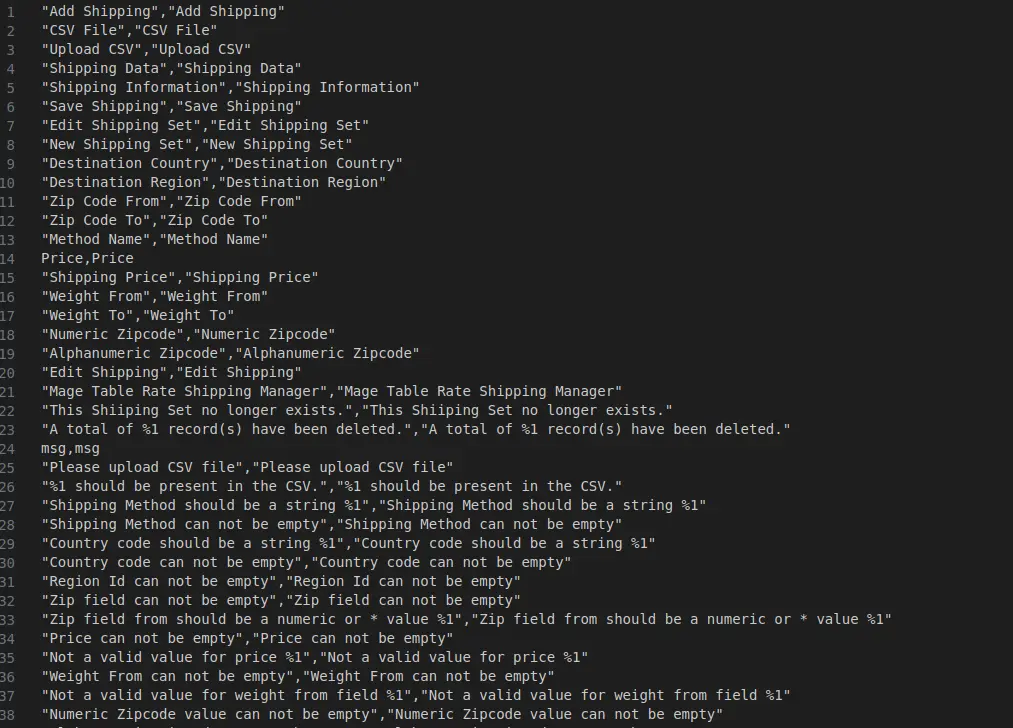
The module includes standard English translation strings located in app/code/Webkul/OrderEdit/i18n/en_US.csv.
- Navigate to
app/code/Webkul/OrderEdit/i18n/. - Copy
en_US.csvand name it using your target locale code (e.g.,es_ES.csvfor Spanish,de_DE.csvfor German,fr_FR.csvfor French). - Translate all values on the right-hand side of each comma-separated line.
- Save the file and flush the Magento cache:
php bin/magento cache:flush
Next Step
Proceed to Activate & Connect to verify module registration, activate your license key, and confirm administrative access.