i18n Language Translation
The Magento 2 Multi Vendor Custom Option extension includes multi-language translation and Right-to-Left (RTL) storefront layout support.
Storefront Locale Configuration
To set your store's target locale language:
- Log in to the Admin Panel.
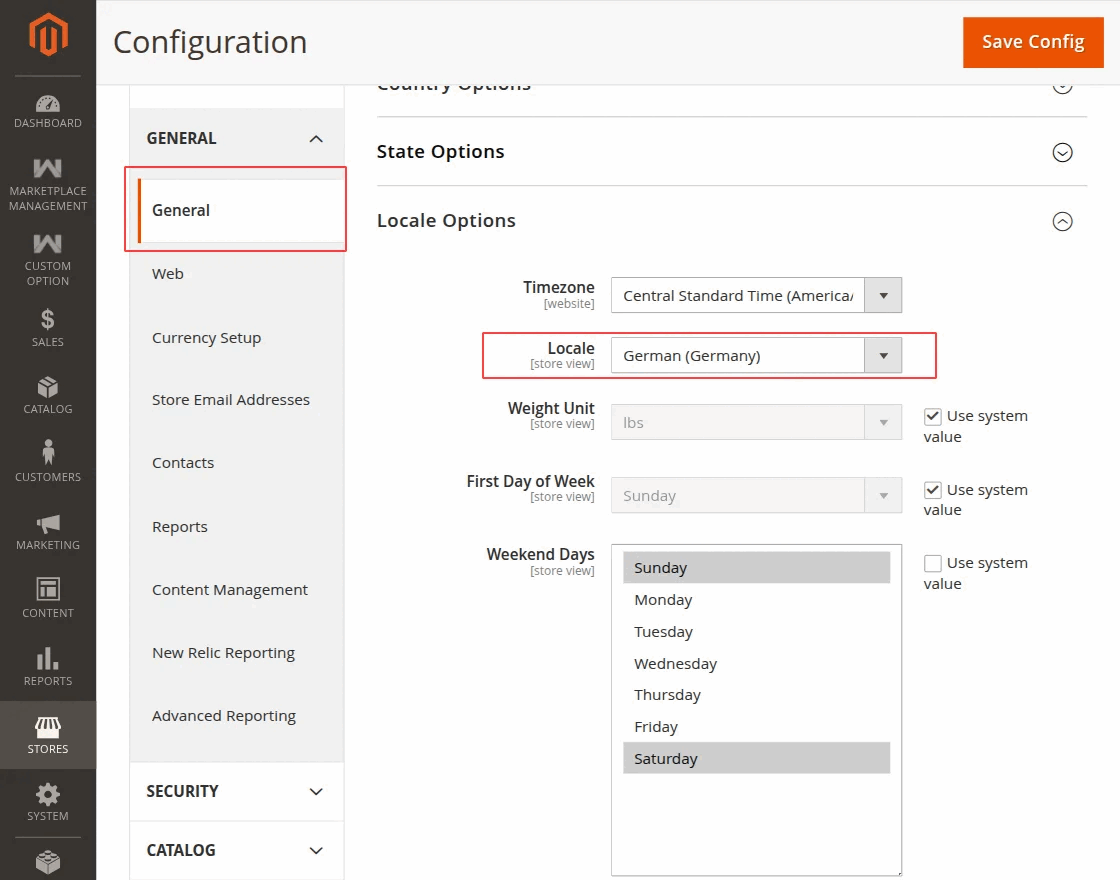
- Navigate to Stores → Configuration → General → Locale Options.
- In the Locale dropdown menu, select your target language (e.g., German (Germany) or Arabic (Saudi Arabia)).
- Click Save Config.
CSV Dictionary Translation (i18n)
To translate all module interface labels into your preferred language:
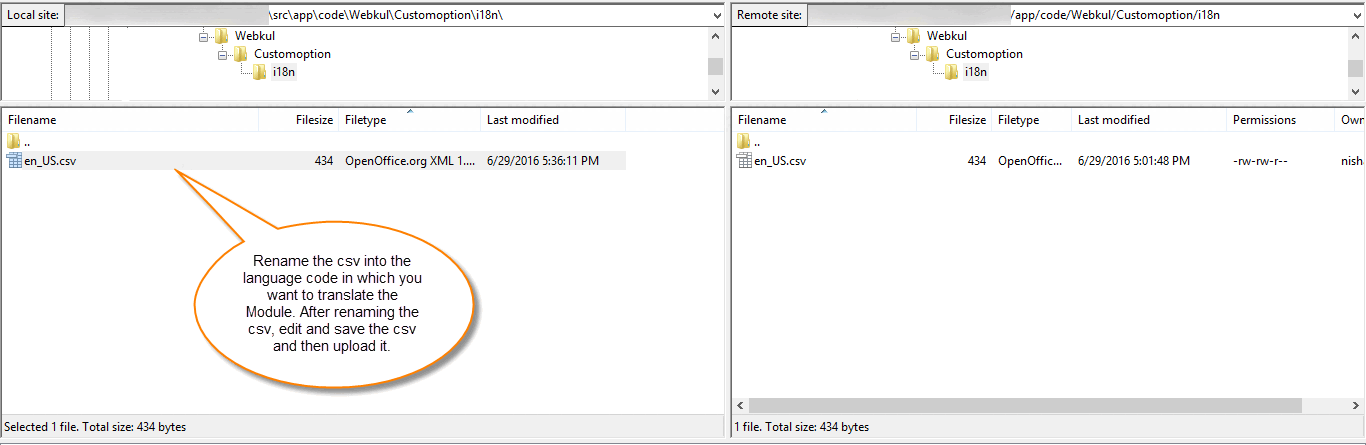
- Connect via FTP/SSH and navigate to
app/code/Webkul/Customoption/i18n/. - Duplicate the default
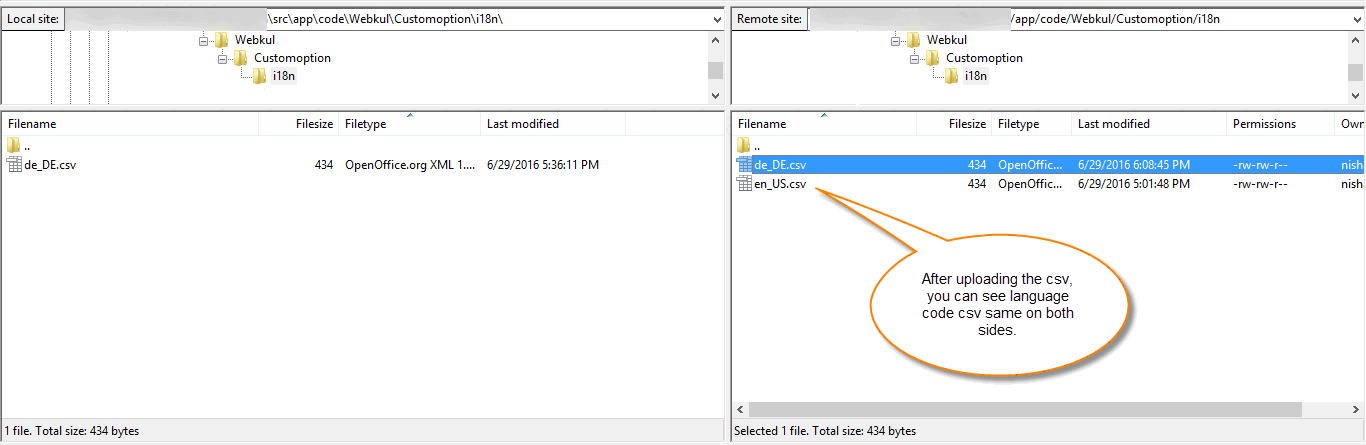
en_US.csvfile. - Rename the copied file to match your target locale code (e.g.,
de_DE.csvfor German orar_SA.csvfor Arabic).
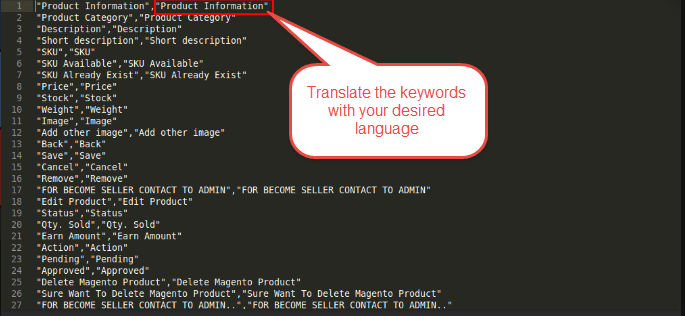
- Open the CSV file in any text editor or spreadsheet software.
- Translate the right-hand column string values (after the comma) into your target language.
"Custom Options","Optionen anpassen"
"Add Option","Option hinzufügen"
"Is Required","Erforderlich"
"Price","Preis"
- Save and upload the updated CSV file back to
app/code/Webkul/Customoption/i18n/. - Execute static content deployment and cache flush commands:
php bin/magento setup:static-content:deploy -f
php bin/magento cache:flush
RTL Language Support
The module automatically adjusts text alignment, drag handles, and input spacing when an RTL locale (such as Arabic ar_SA or Hebrew he_IL) is active.