
Seller Management
Marketplace sellers can autonomously manage their own size standards, create body measurement instructions, and build size chart matrices directly from the Marketplace Seller Dashboard.
Accessing the Seller Size Chart Menus
When a registered marketplace seller logs into their frontend customer account, a dedicated Marketplace Size Chart section appears in their navigation sidebar:
Seller Group Module Support
If the Webkul Marketplace Seller Group module is installed, store administrators can control which seller tiers or groups have permission to create and manage size charts via action-level ACL permissions.
1. Managing Seller Size Units
Sellers can define brand-specific sizing units (such as US sizes, UK sizes, EU sizes, or custom alphanumeric sizes):
Size Units Grid
Navigate to Marketplace Size Chart > Size Units in the seller sidebar to view all seller-owned size units.
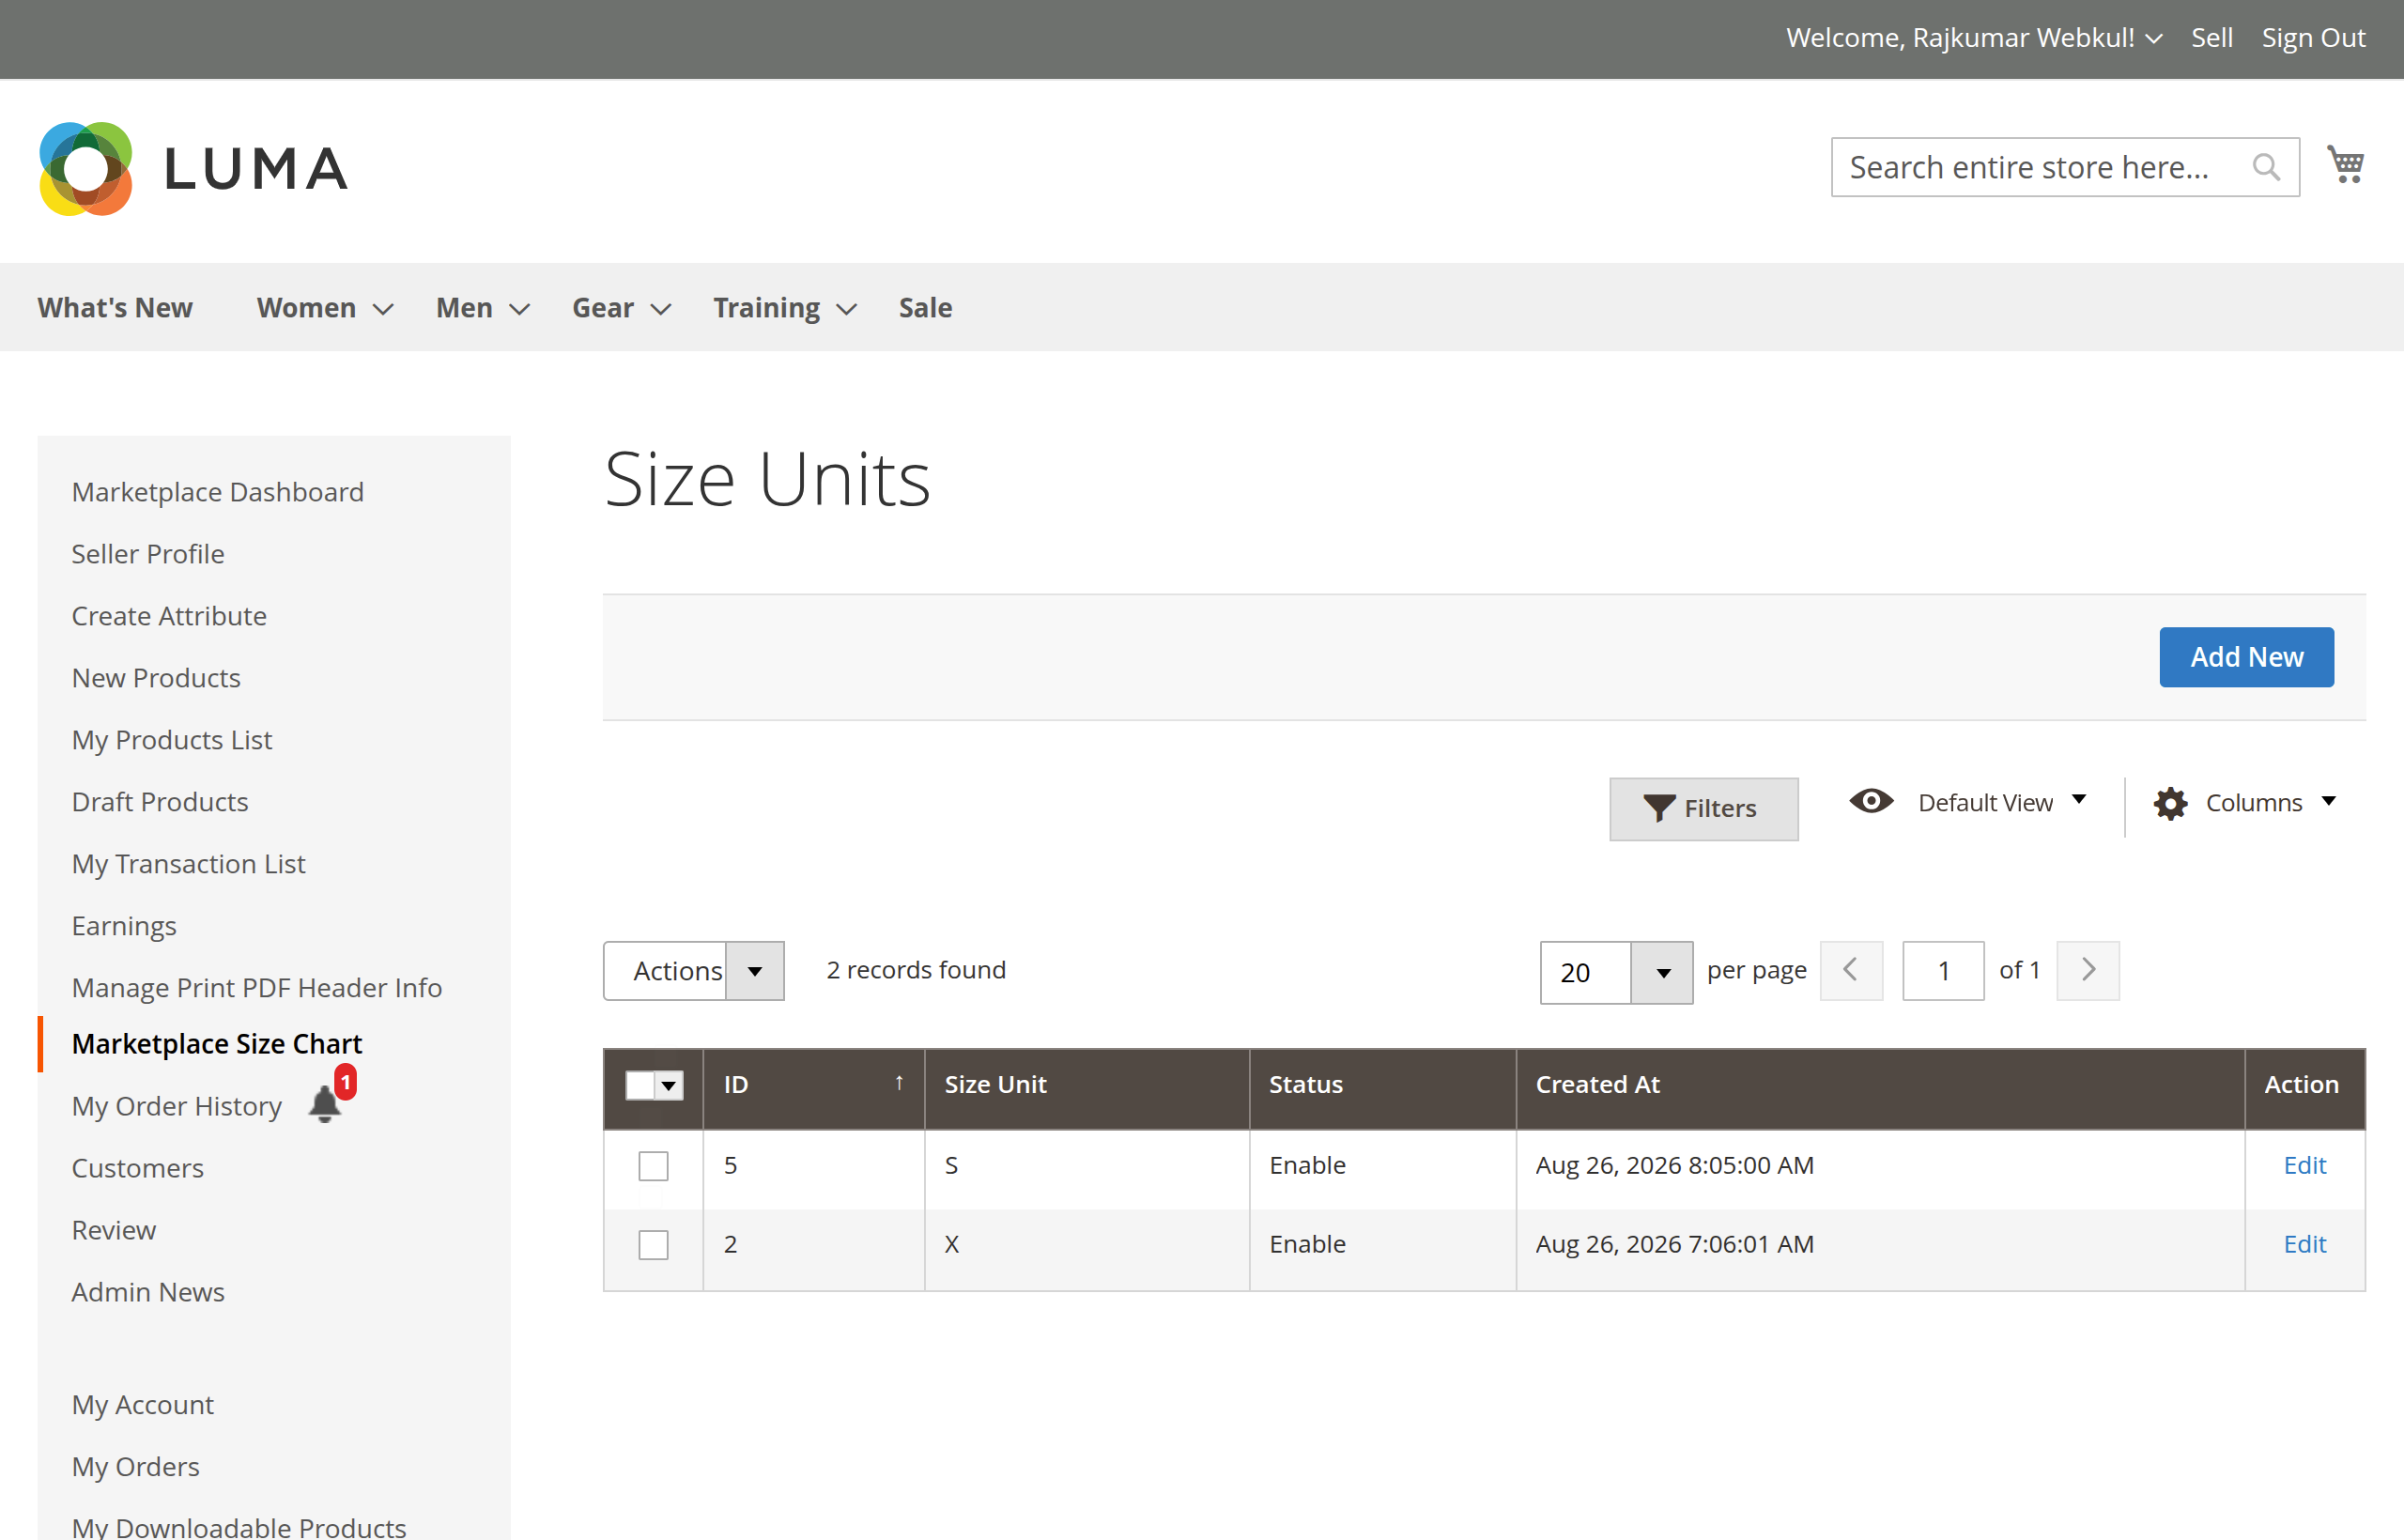
Step-by-Step: Adding a Size Unit
- From the seller sidebar, click Marketplace Size Chart > Size Units.
- Click Add New (or Add Size Unit).
- Specify:
- Size Unit: Enter the size identifier (e.g.,
S,M,L,X,32,34,One Size). - Status: Choose
EnableorDisable.
- Size Unit: Enter the size identifier (e.g.,
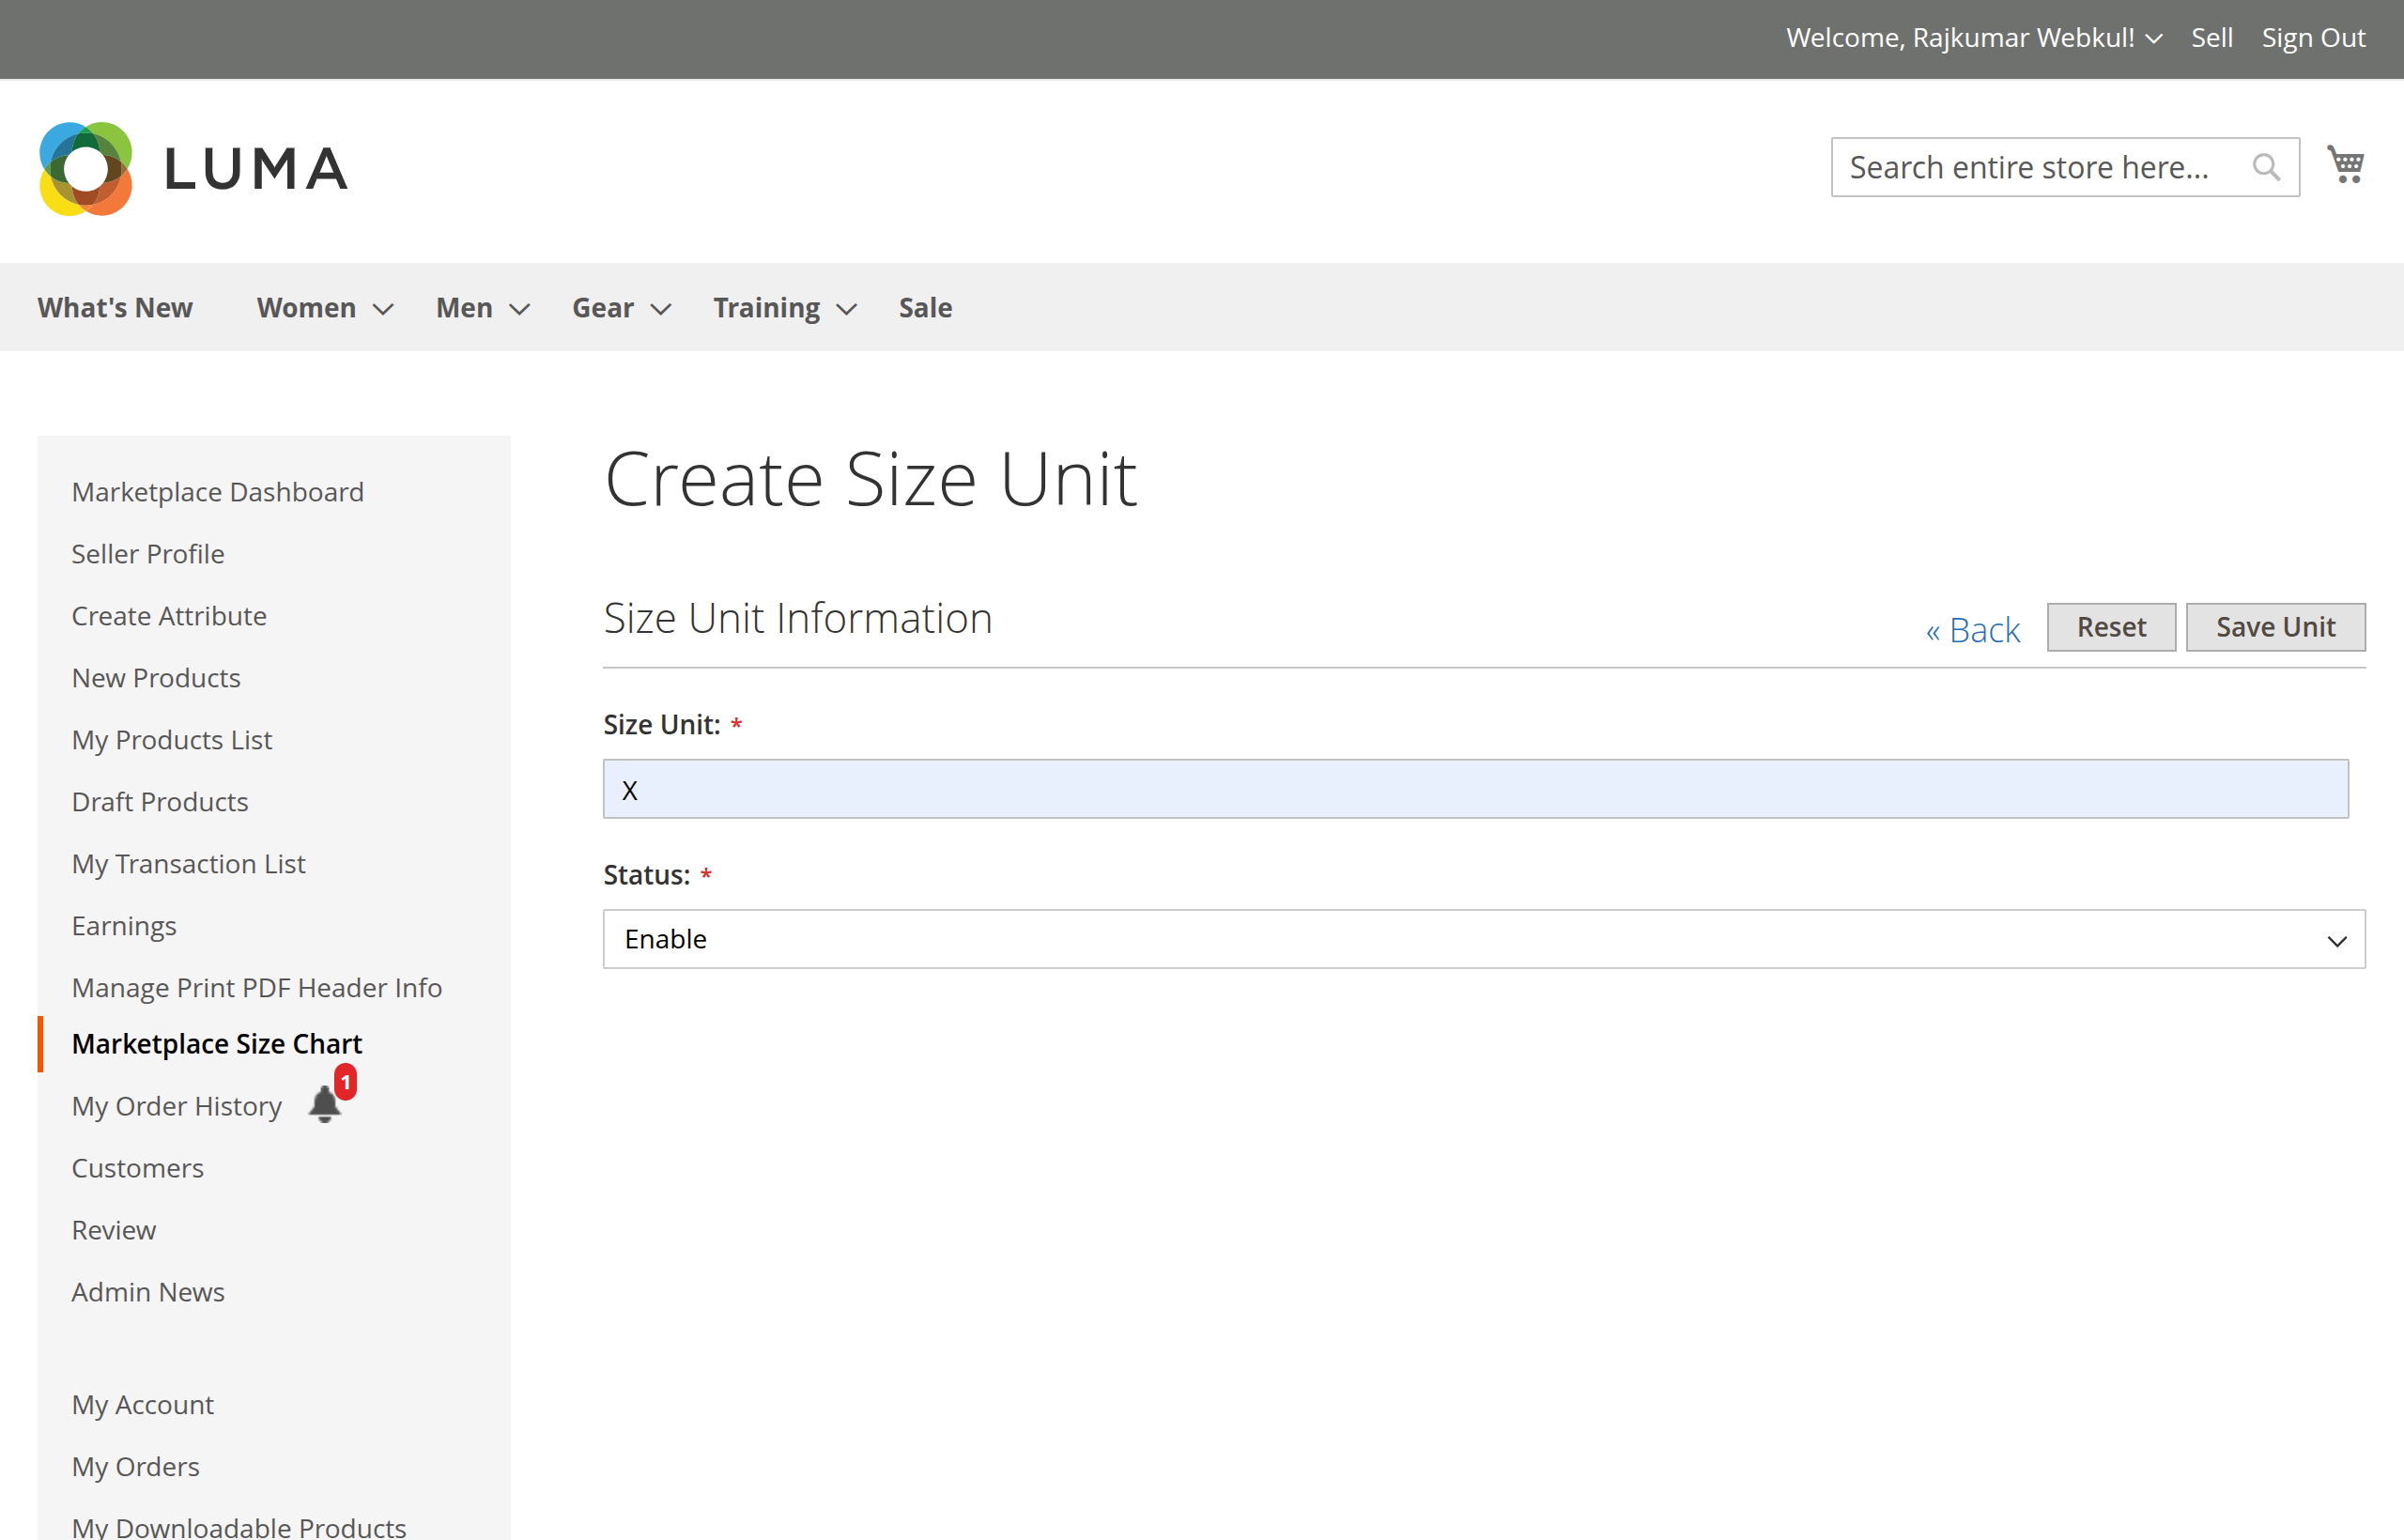
- Click Save Unit.
Sellers can also perform Mass Delete and Mass Status Change directly from their frontend listing grid using the Actions dropdown.
2. Managing Seller Measurements
Sellers can define measurement points for garments and upload customized measurement illustrations:
Measurements Grid
Navigate to Marketplace Size Chart > Measurements to view all existing measurements.
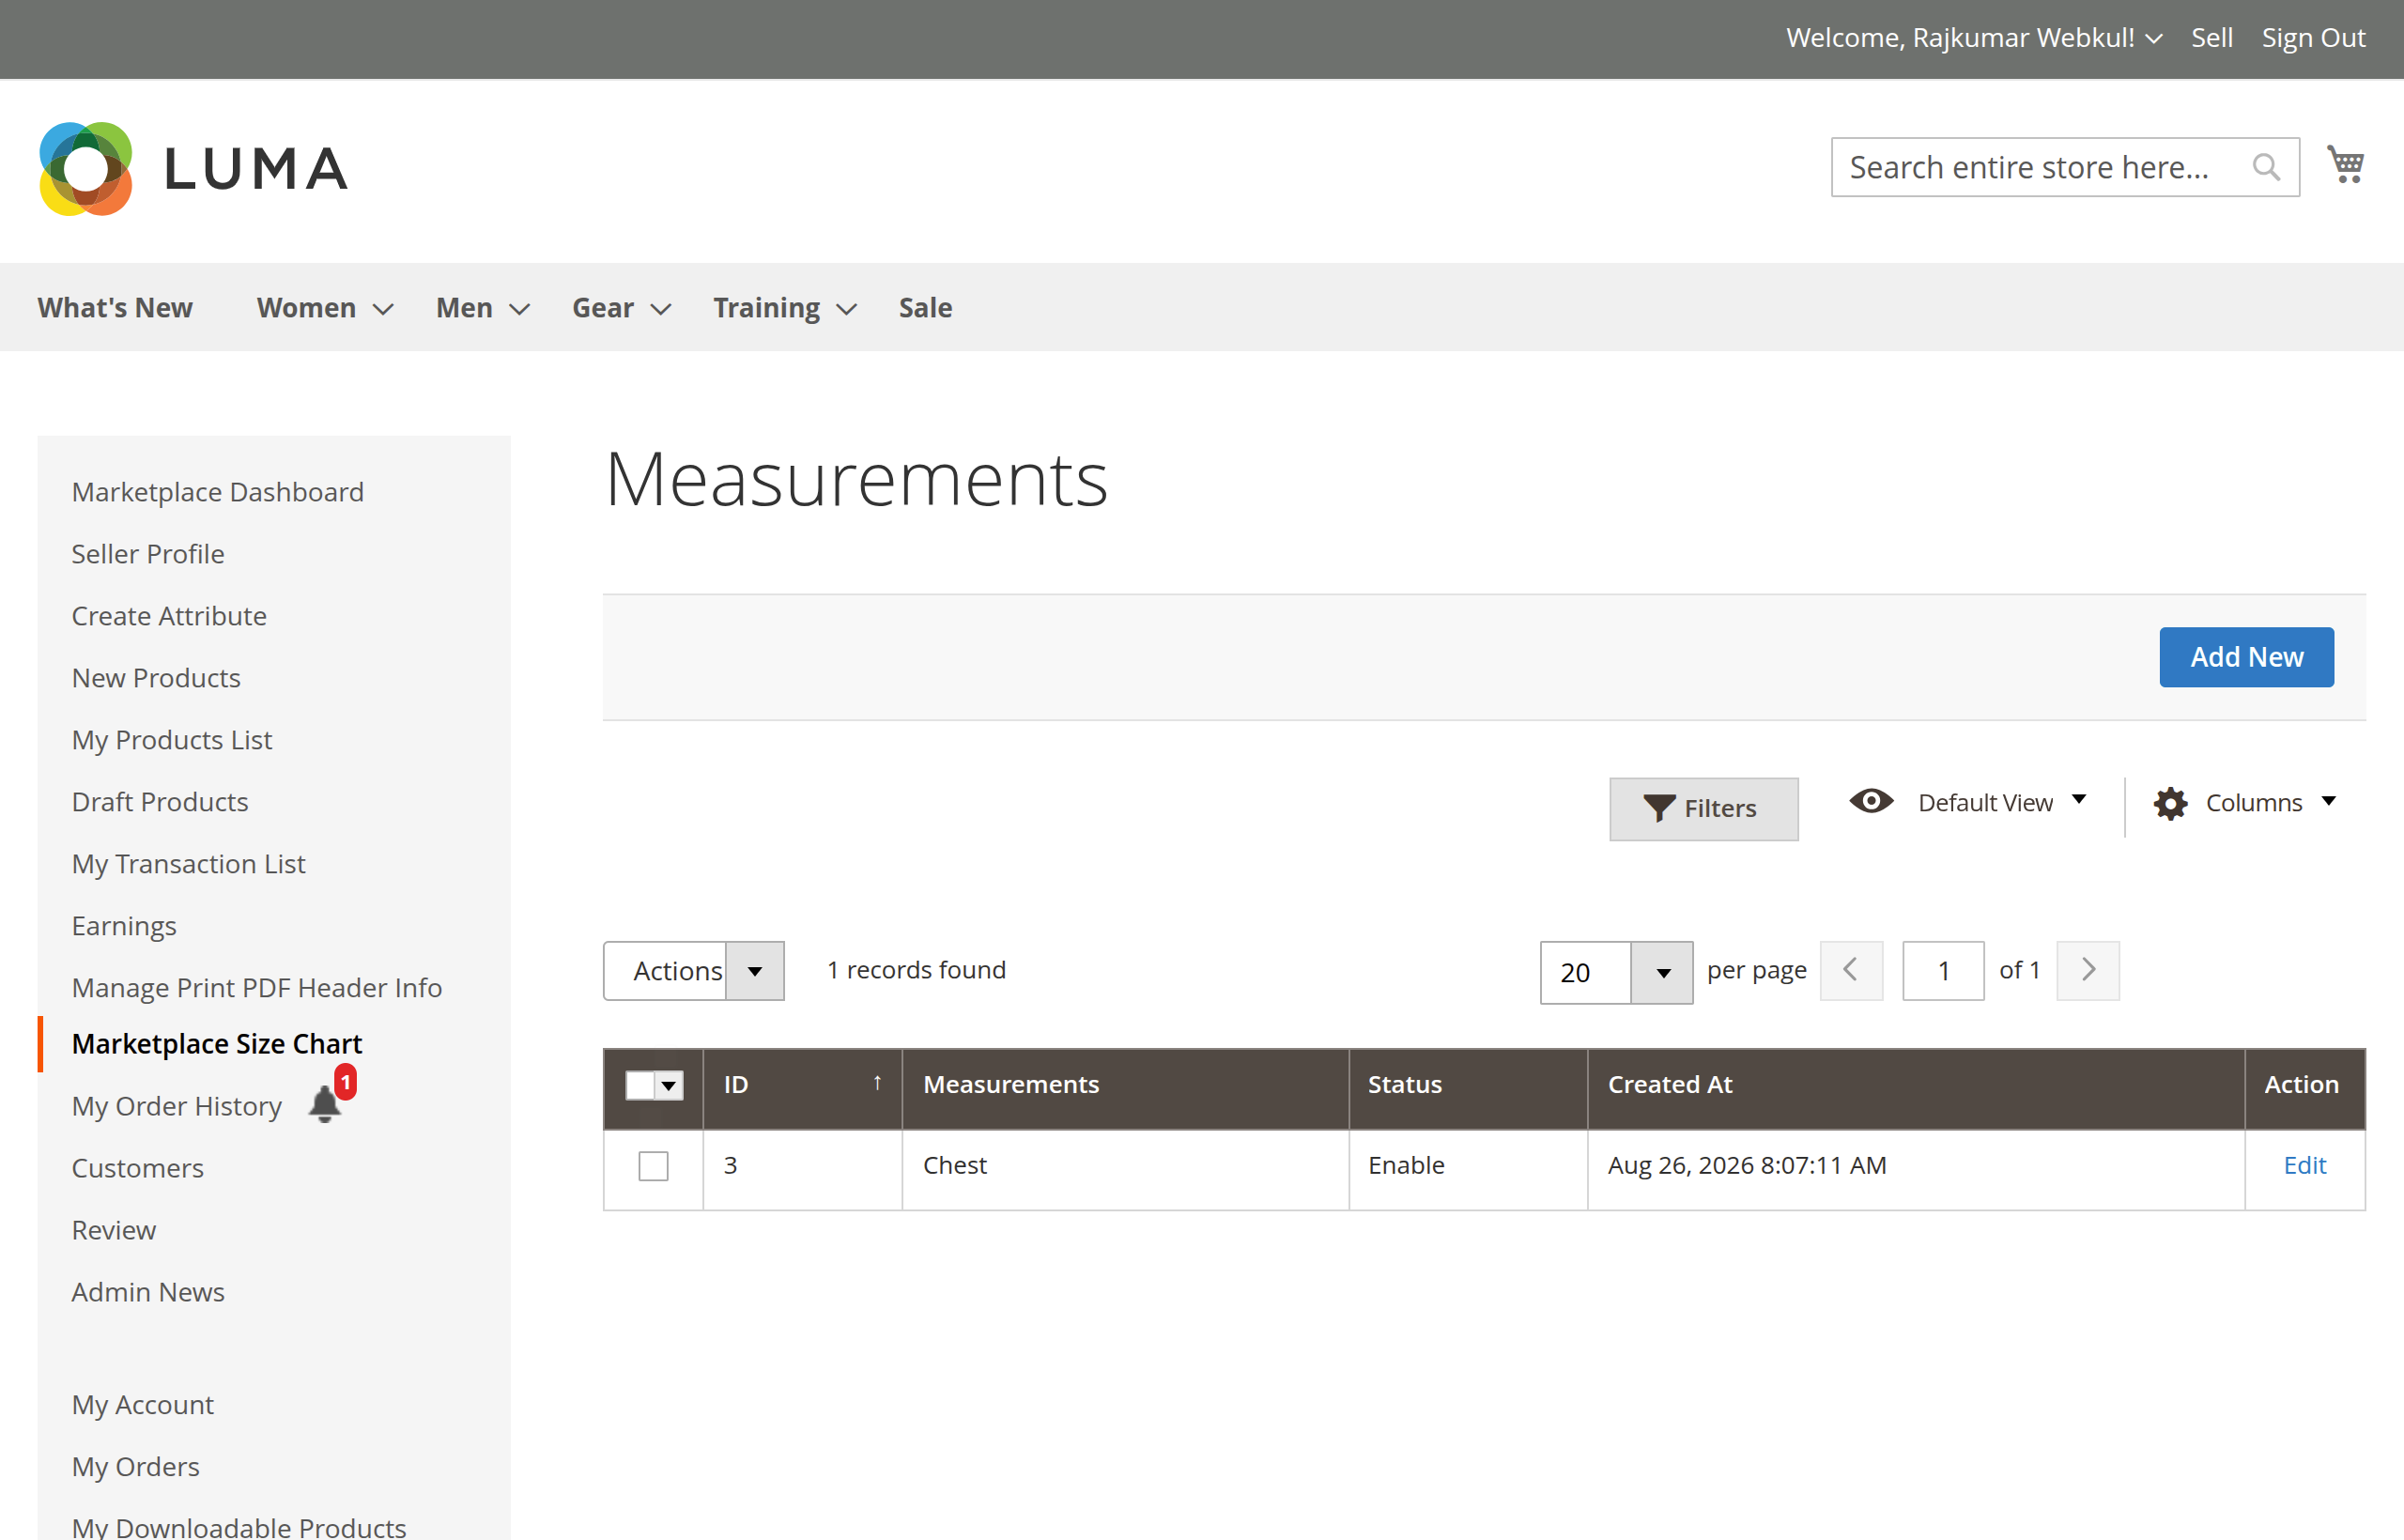
Step-by-Step: Adding a Measurement
- Click Marketplace Size Chart > Measurements.
- Click Add New (or Add Measurement).
- Fill out the details:
- Measurement: Enter the measurement name (e.g.,
Chest,Waist,Inseam Length,Hip). - Status: Set to
EnableorDisable. - Measurement Image: Click Upload to attach an illustrative graphic showing customers how to take this measurement.
- Measurement: Enter the measurement name (e.g.,
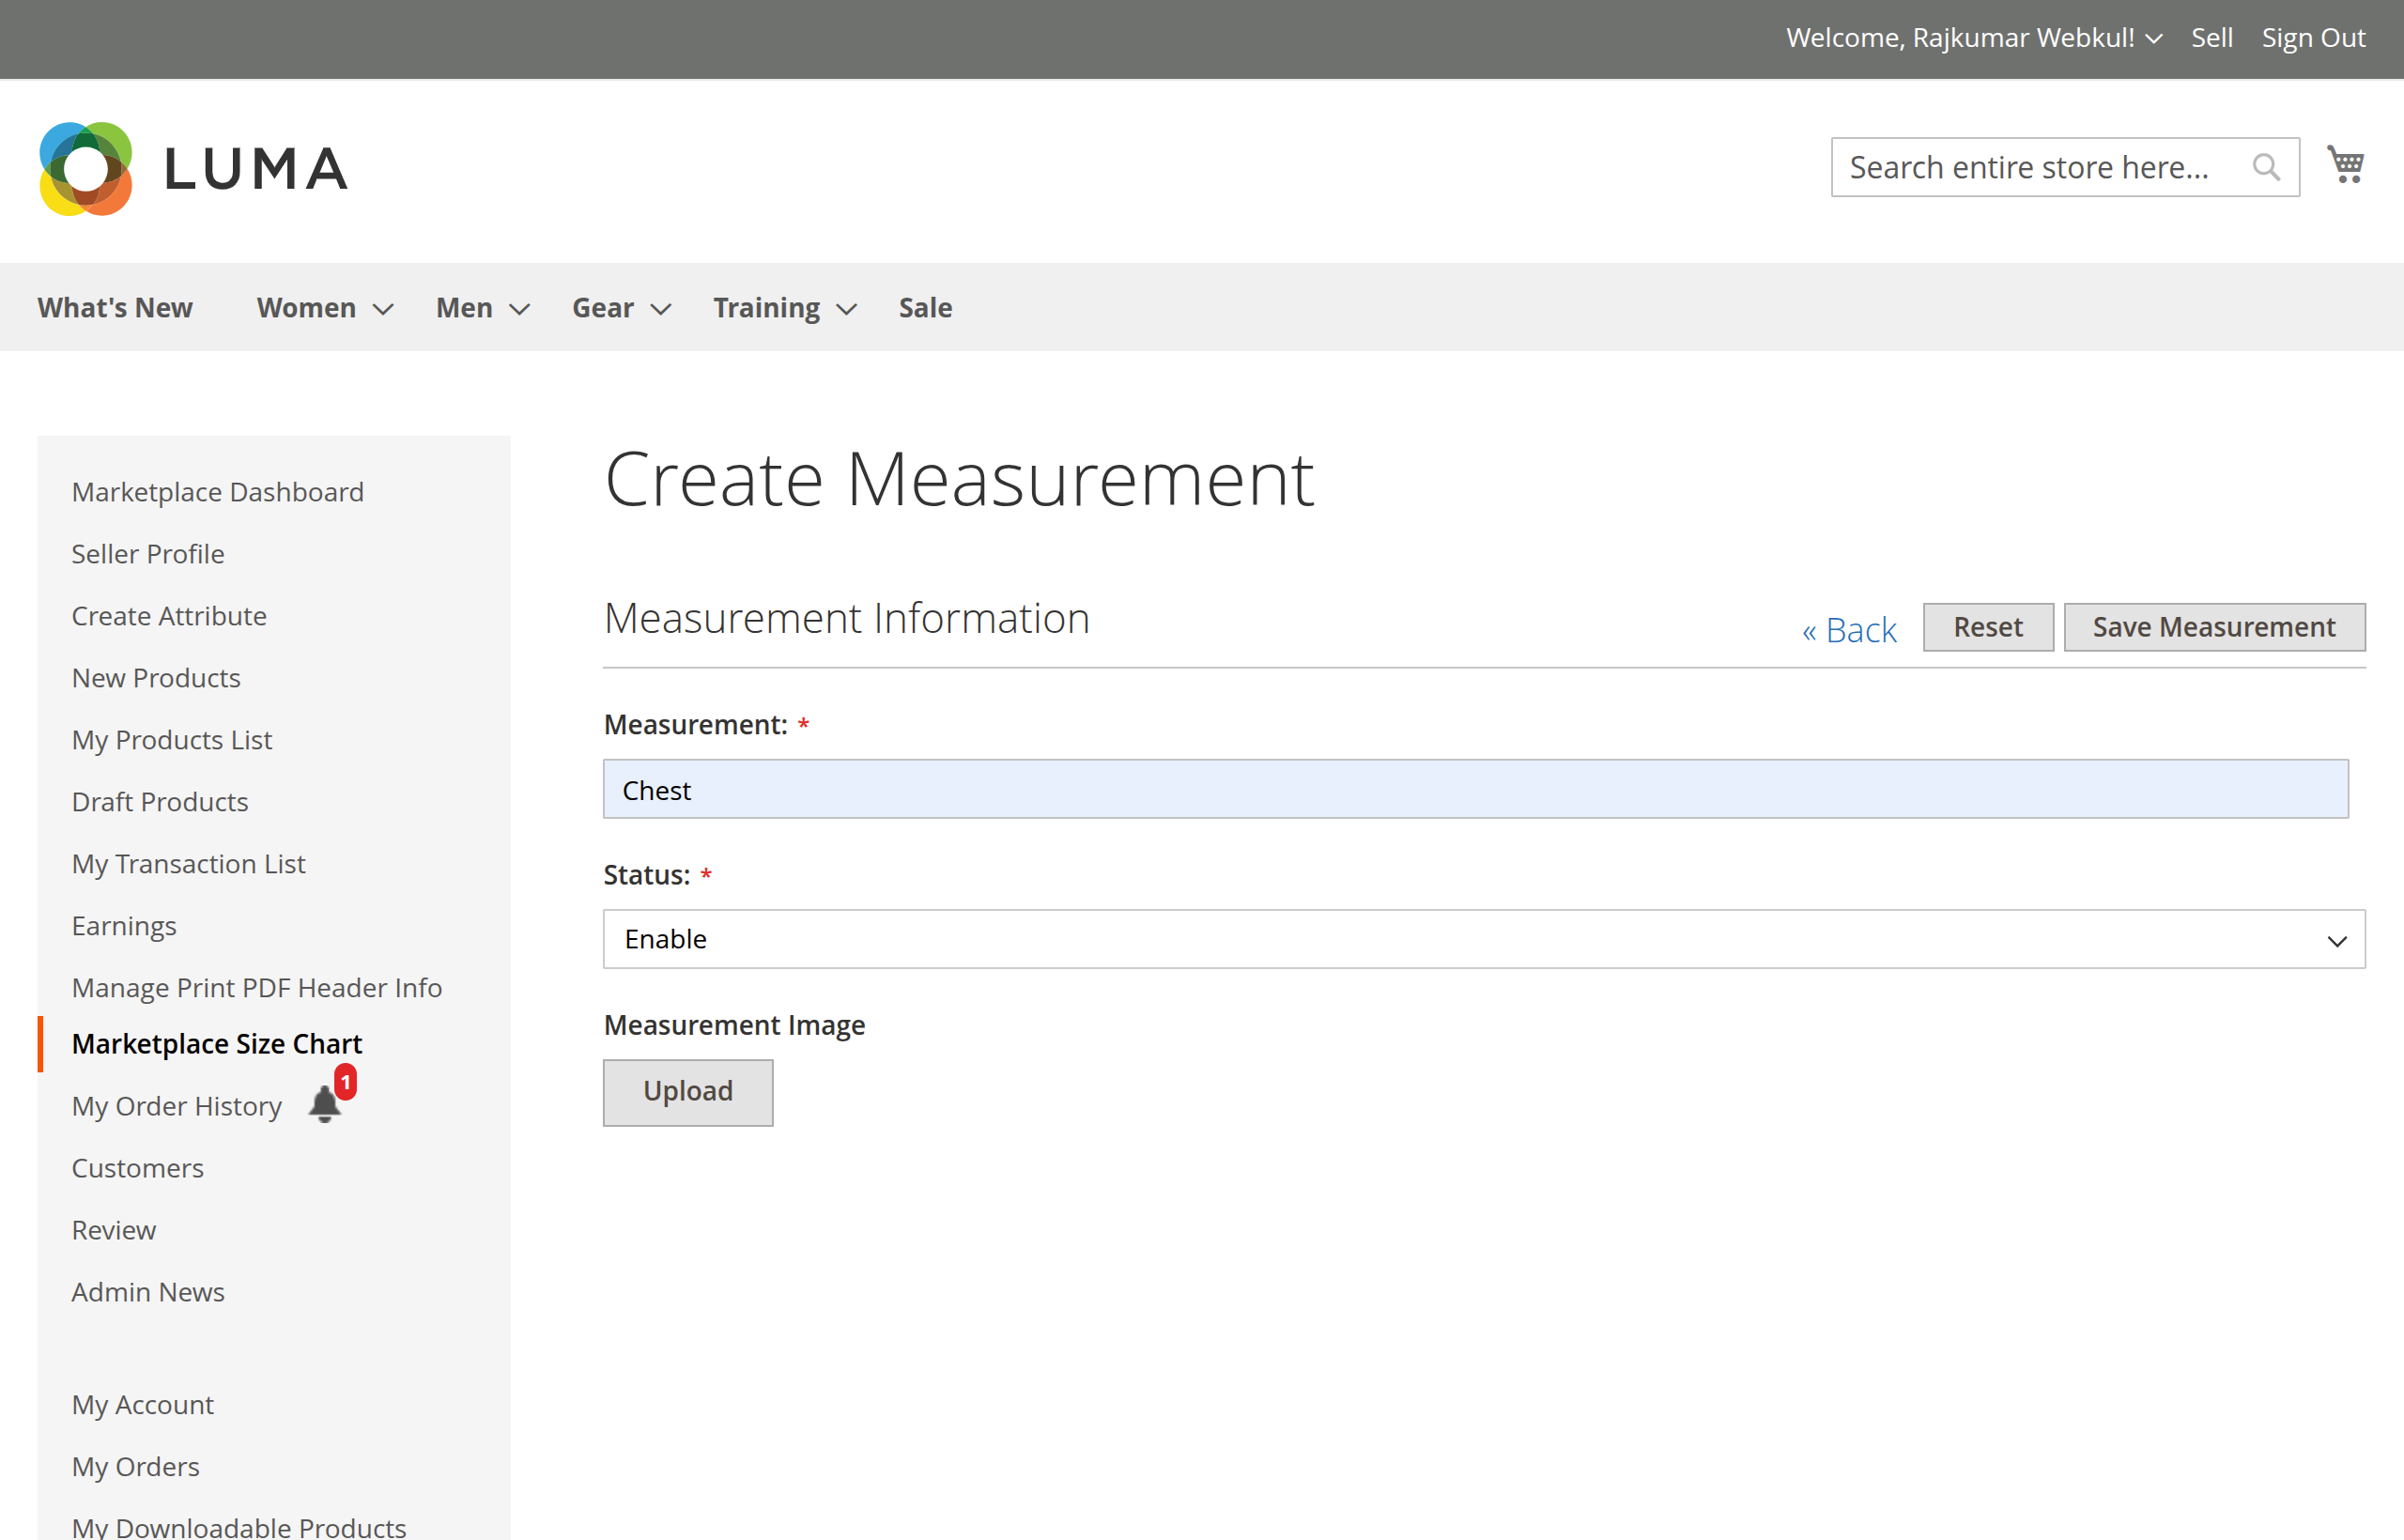
- Click Save Measurement.
3. Building Seller Size Chart Templates
The multi-step template builder allows sellers to construct custom dimension matrices in minutes:
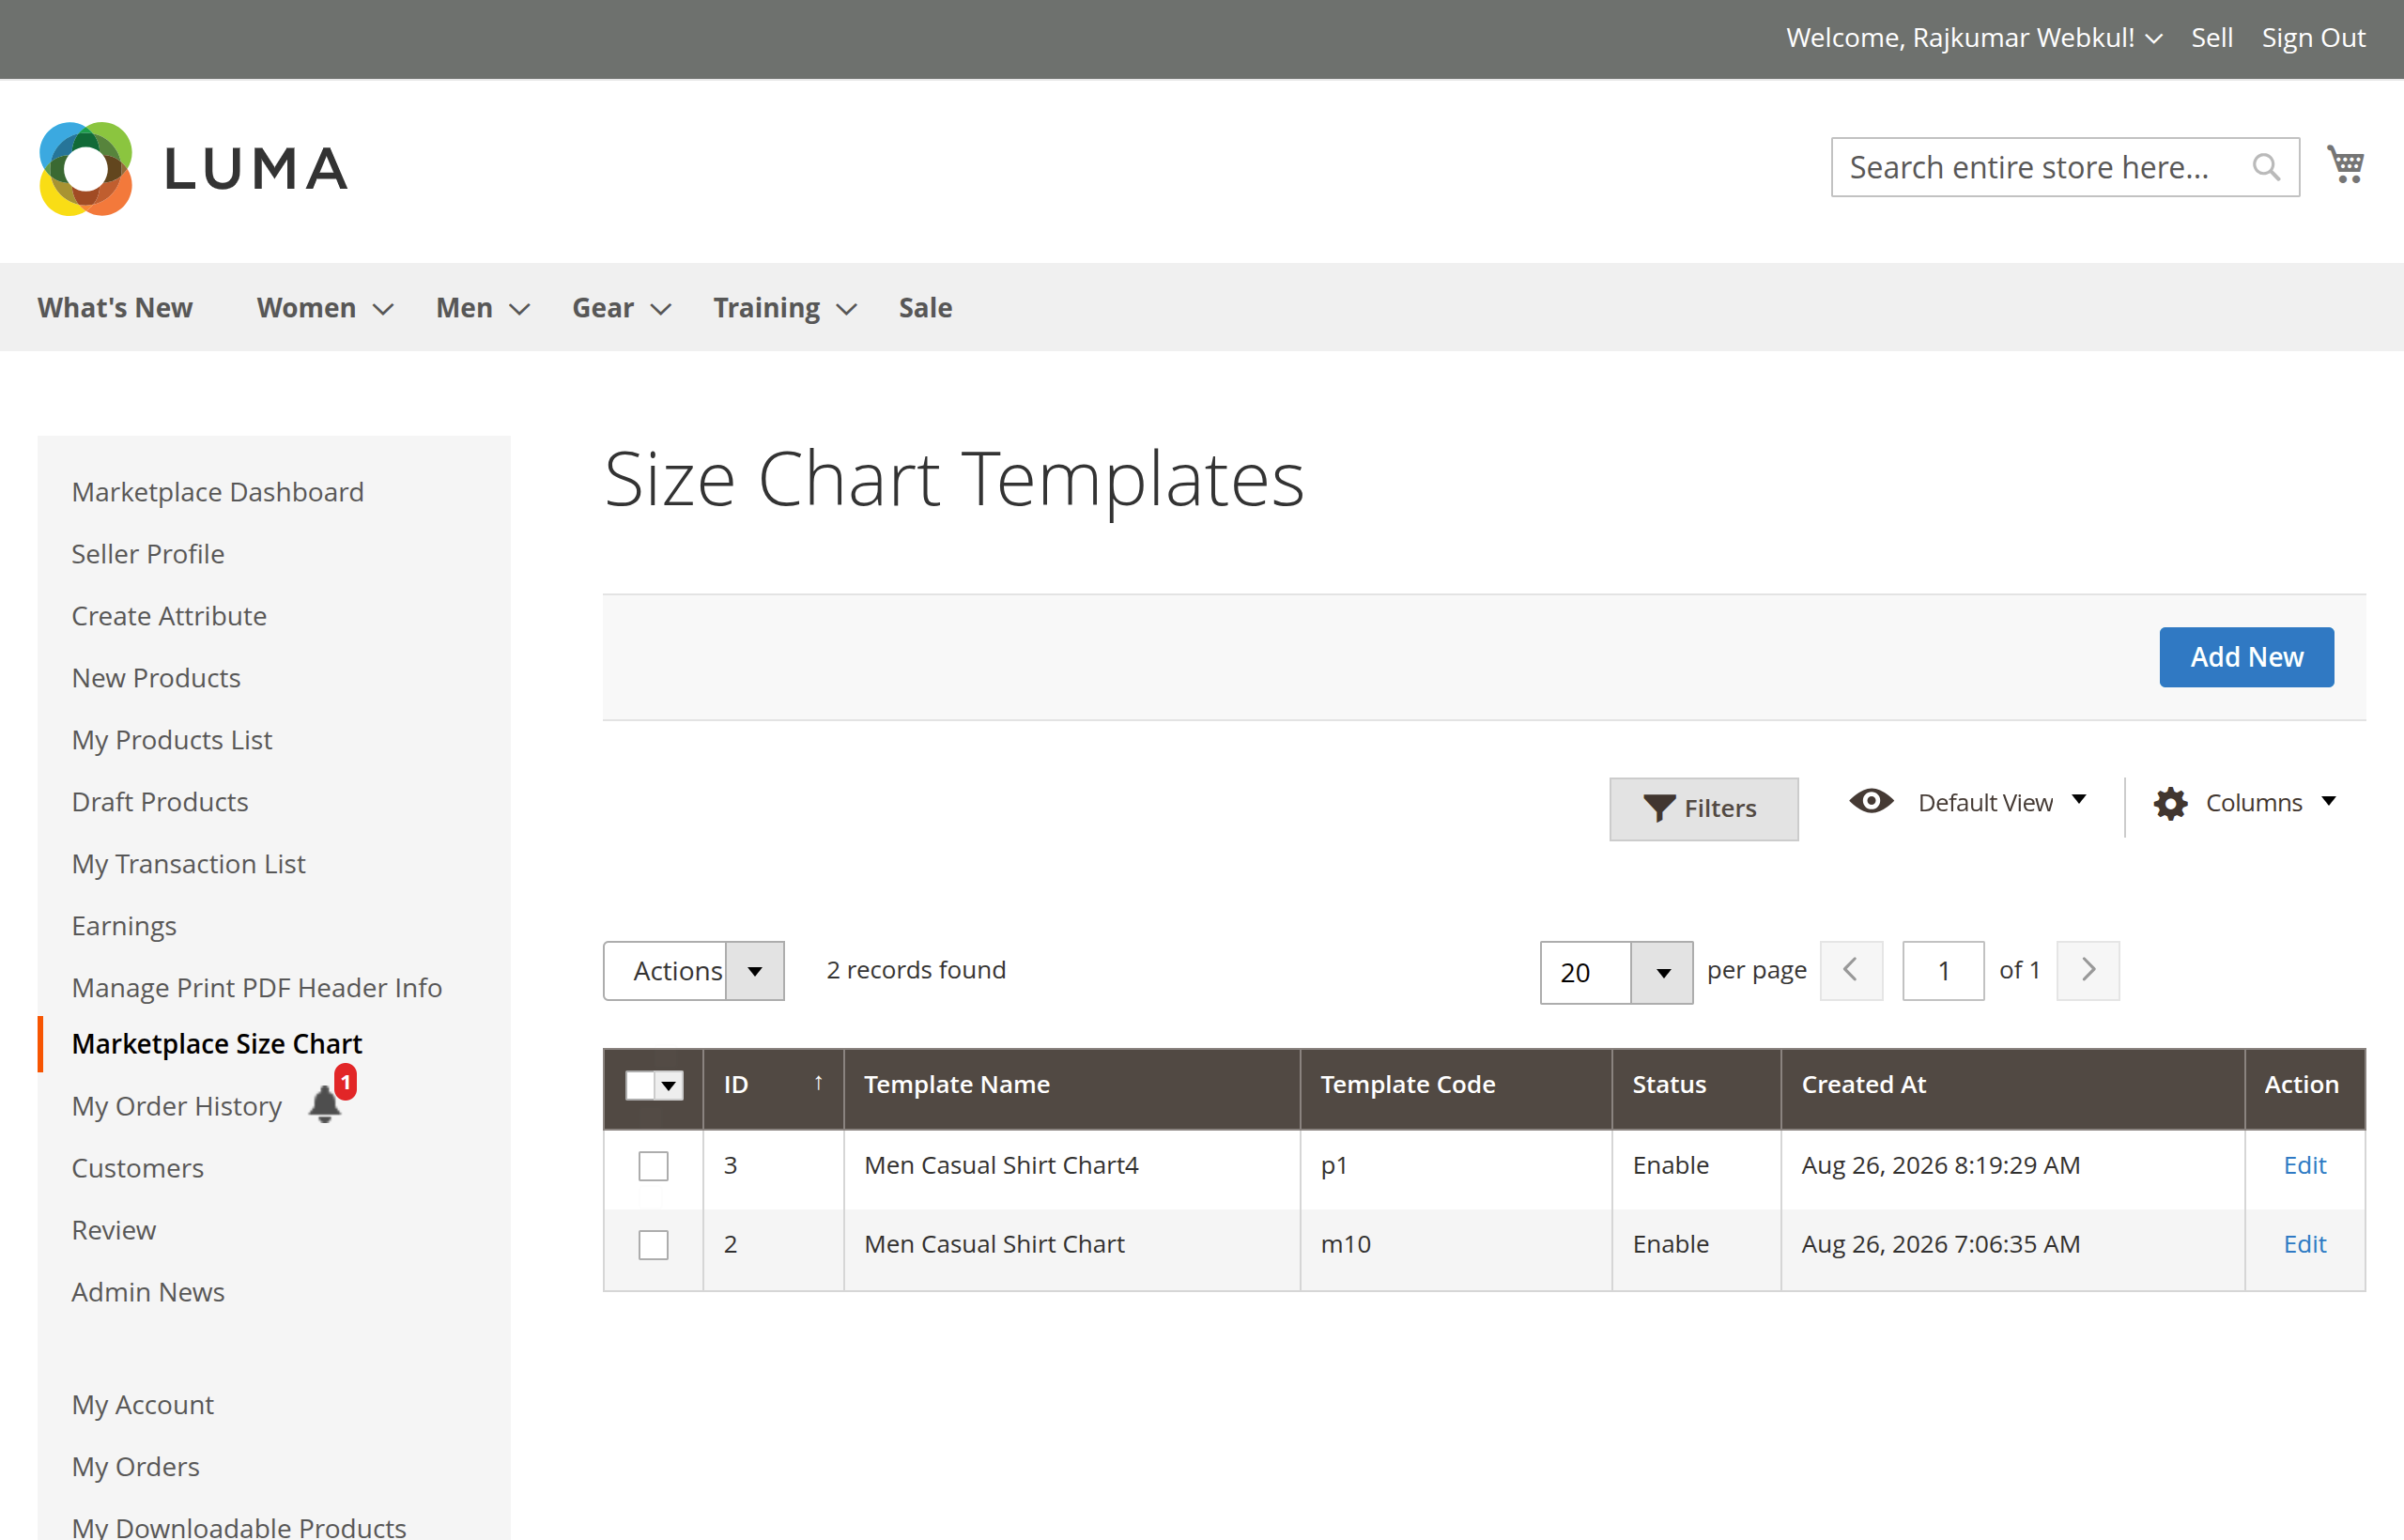
Size Chart Templates Grid
Navigate to Marketplace Size Chart > Size Chart Templates to view and manage existing templates.
Step 1: Matrix Configuration
- In the seller dashboard, navigate to Marketplace Size Chart > Size Chart Templates.
- Click Add New (or Add Template).
- Fill in:
- Template Name: Enter a recognizable name (e.g., Men Casual Shirt Chart or Summer Dress Sizing).
- Template Code: Enter a unique alphanumeric code without spaces (e.g.,
ms20orsummer_dress_sizing). - Status: Set to
Enable.
- Check the desired Size Units and Body Measurements (or use Select All / Deselect All).
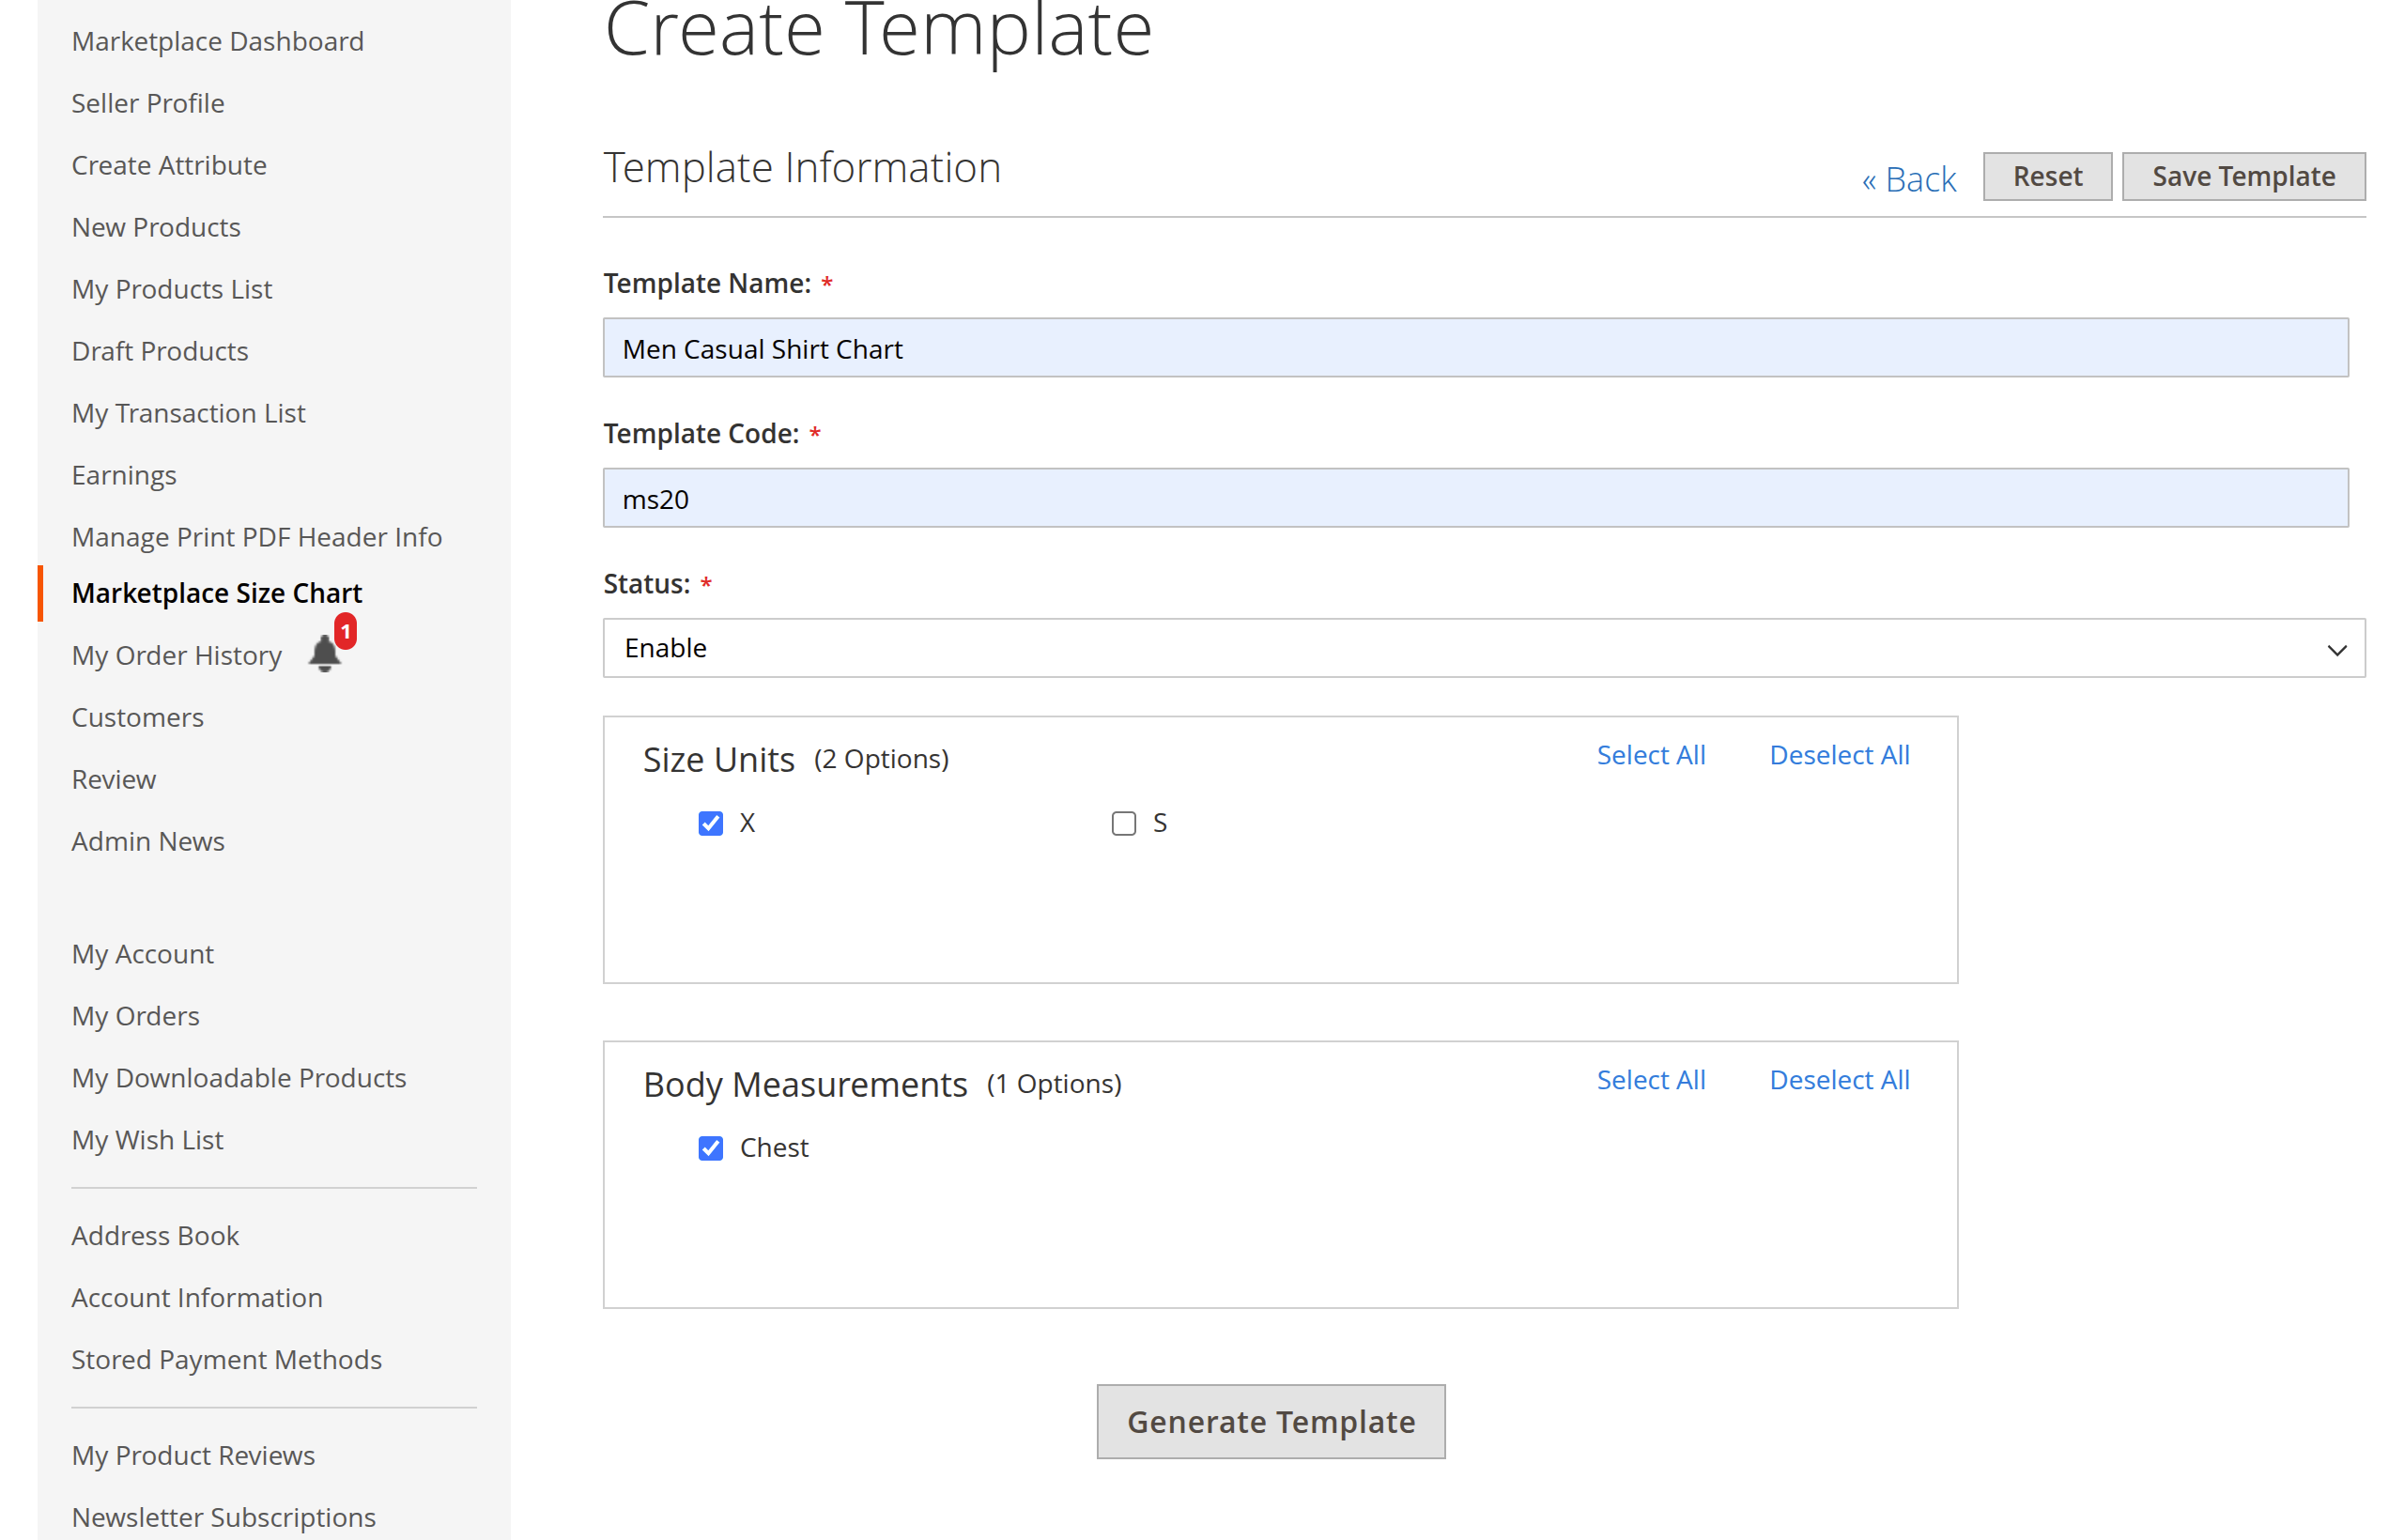
- Click Generate Template.
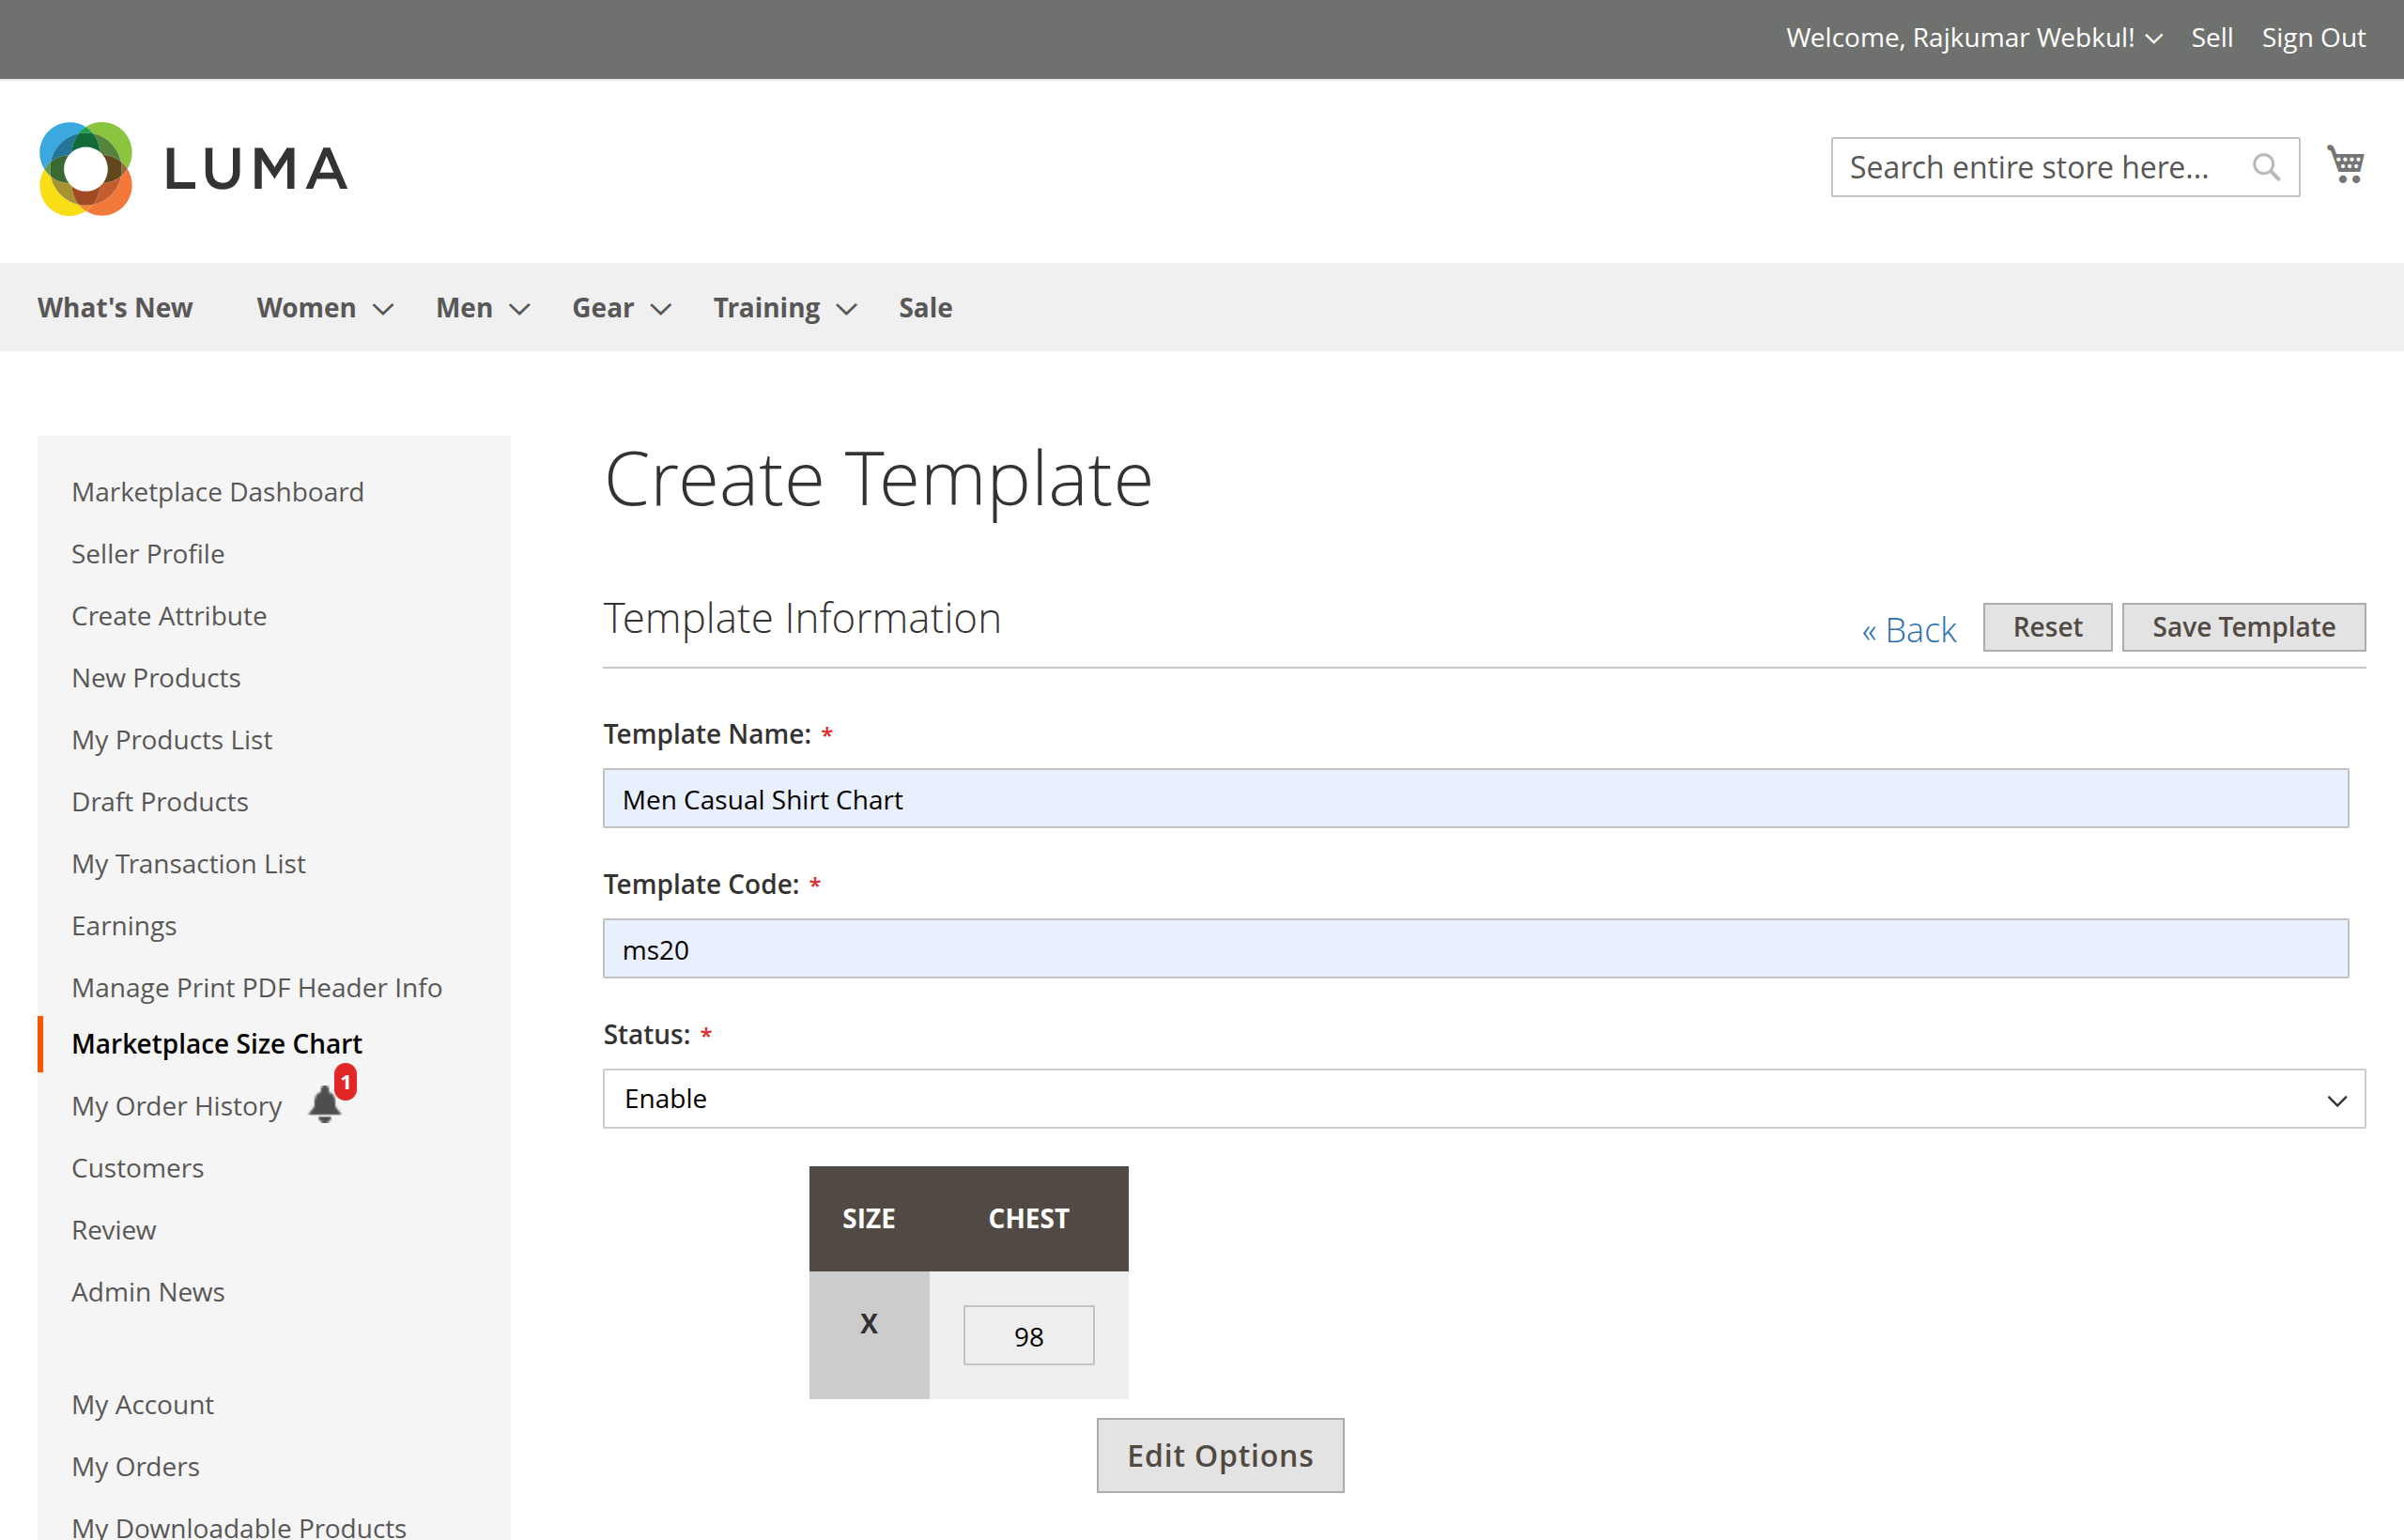
- Enter the exact dimension values for each combination into the matrix table (e.g., Size: X, Chest:
98). - Click Edit Options if you need to modify the selected units or measurements.
Step 2: Custom Measurement Images
- Advance to step 2 by clicking the step indicator or Next.
- Under Upload Measurements image, use the Upload button to verify or replace the measurement guide diagrams for this template.
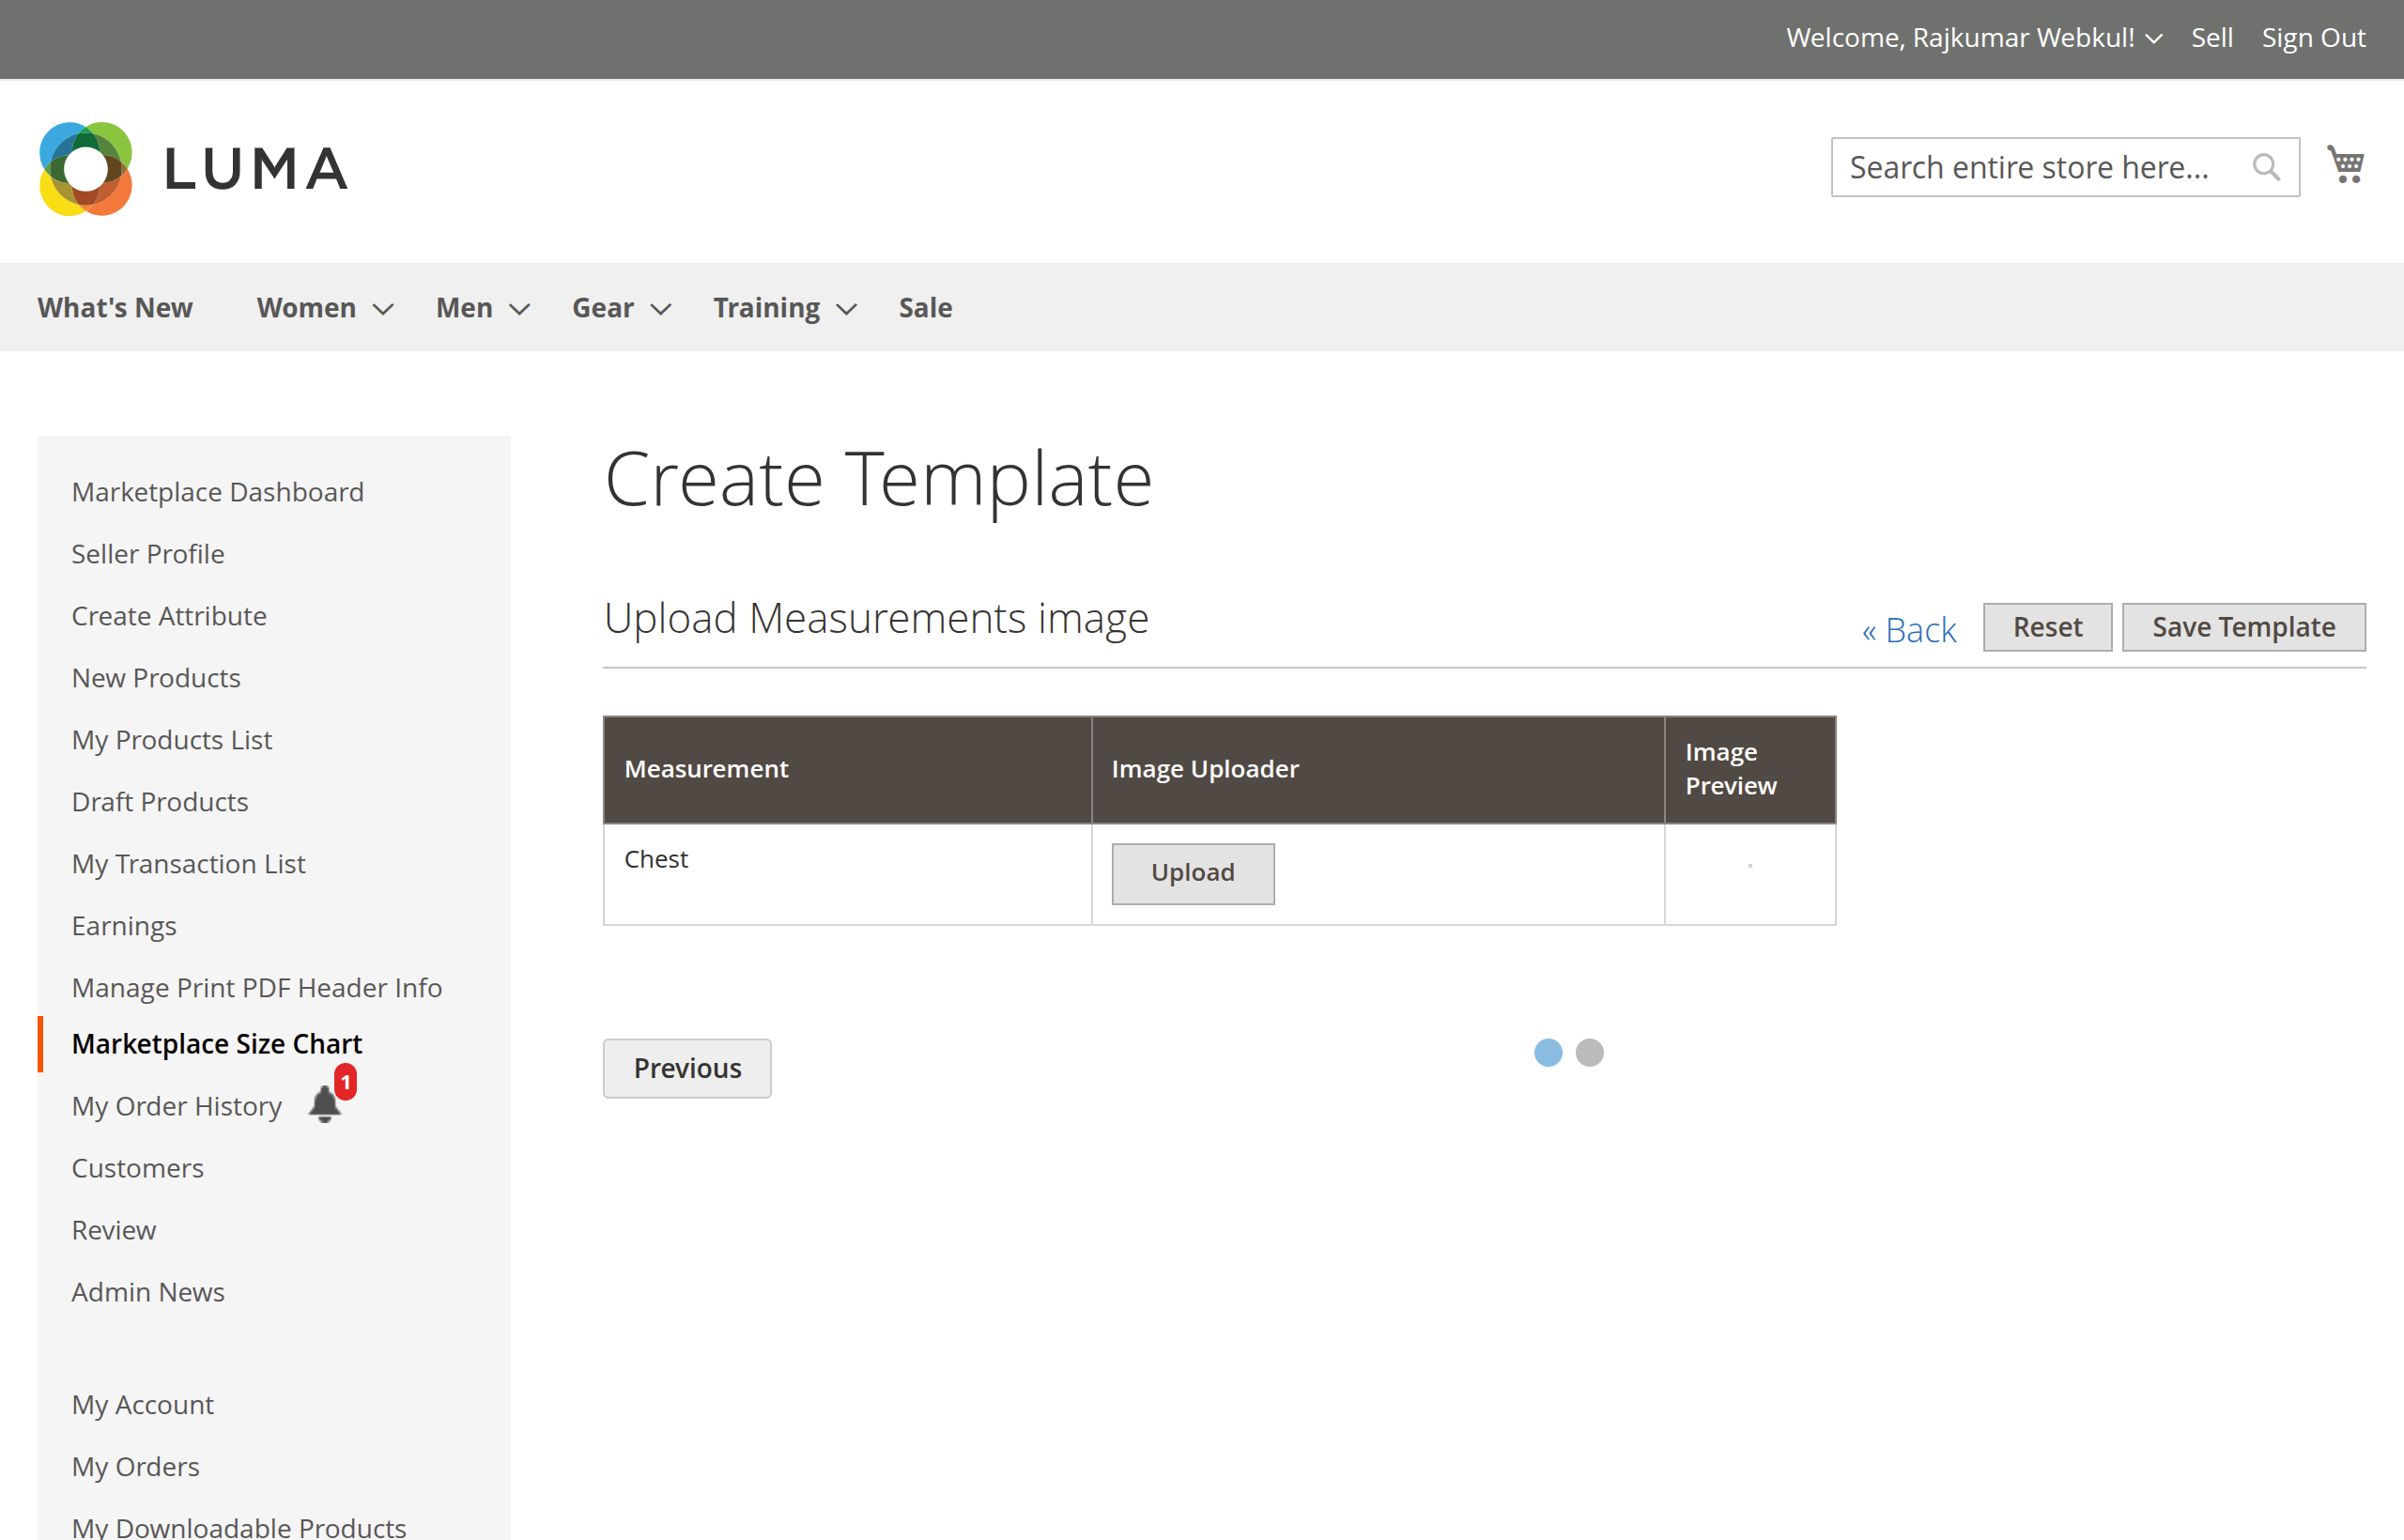
- Click Save Template to persist the record.
4. Seller Data Isolation
All entities created by a seller are strictly isolated using their Magento customer ID:
- Sellers only view their own units, measurements, and templates.
- Attempts by other vendors to view or modify an unauthorized entity ID are automatically rejected.
- When creating or editing products, sellers only see their own active size chart templates in the product assignment dropdown.