
Admin Management
Store administrators have full control over global size charts and oversight of marketplace seller size charts. All administration actions are accessible under the Webkul > Marketplace Size Chart backend menu.
1. Managing Size Units
Size units represent the standard garment and footwear sizes available in your catalog (e.g., XS, S, M, L, XL, XXL, or numeric standards like 38, 40, 42).
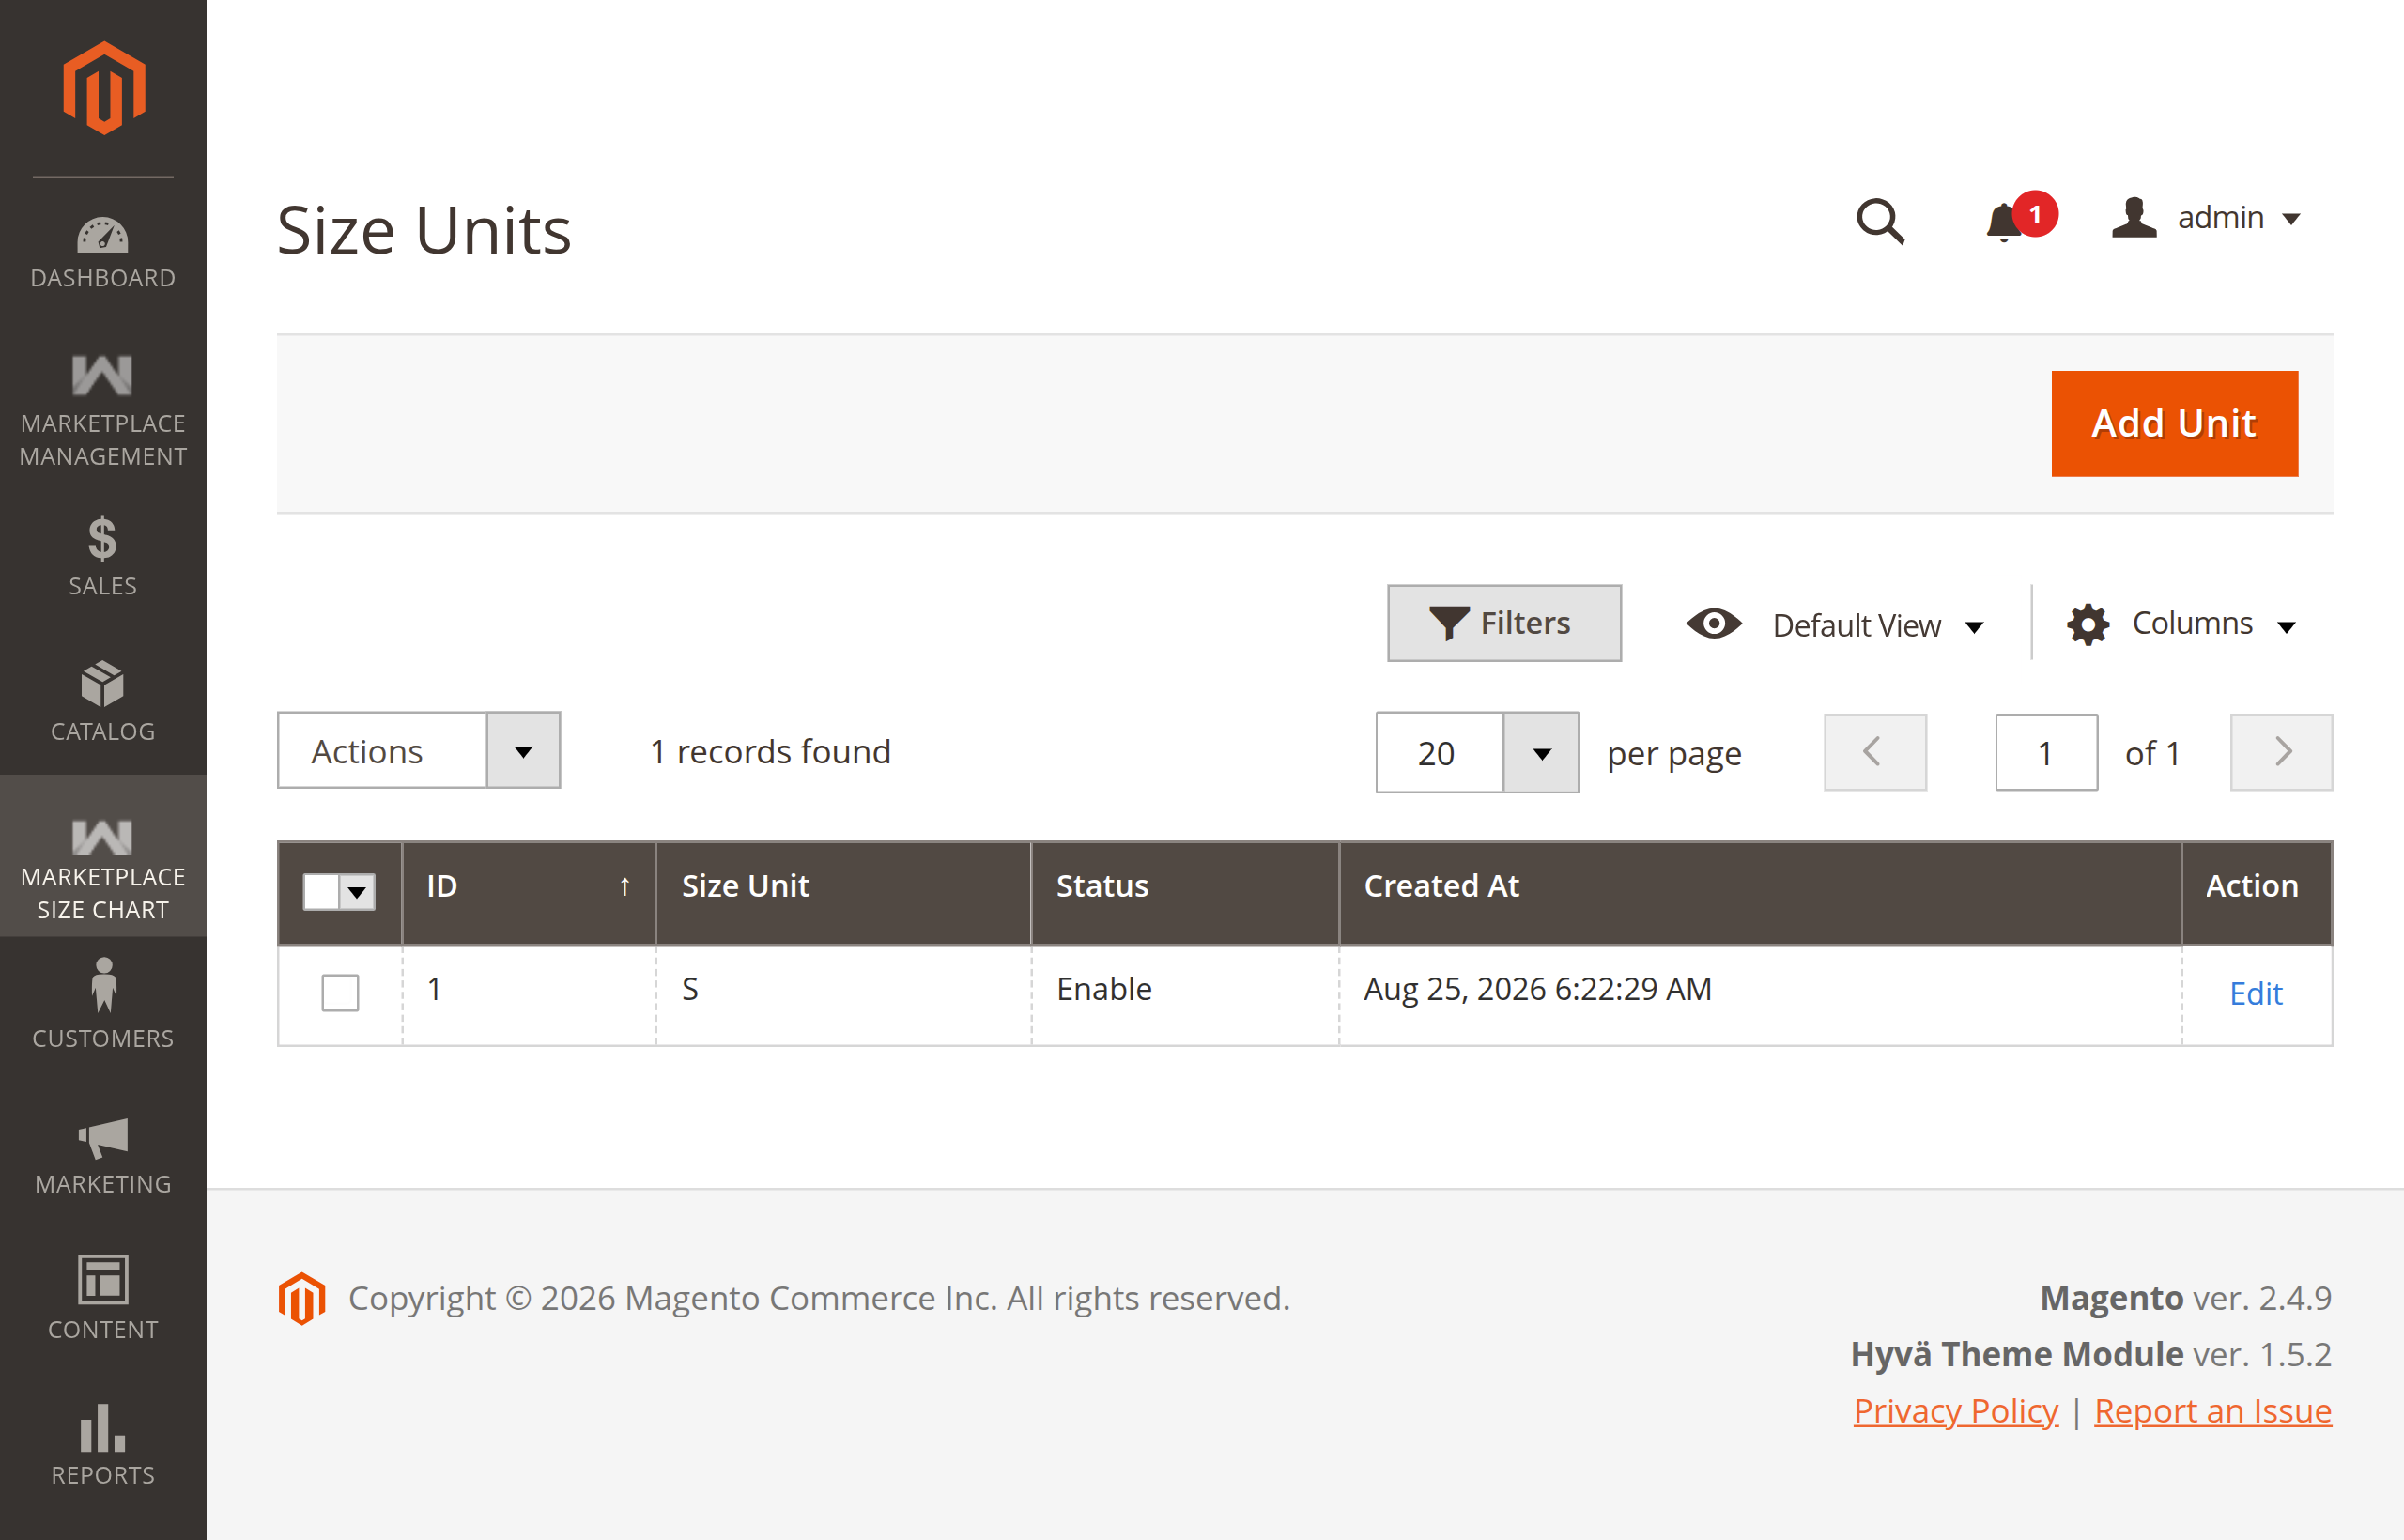
Size Units Listing Grid
Navigate to Webkul > Marketplace Size Chart > Size Units to view and manage existing global size units.
Step-by-Step: Adding a New Size Unit
- Navigate to Webkul > Marketplace Size Chart > Size Units.
- Click Add Unit in the top-right toolbar.
- On the edit form:
- Size Unit: Enter the unit label (alphanumeric, e.g.
S,M,L,XL, or numeric sizes like42). - Status: Set to
EnableorDisable.
- Size Unit: Enter the unit label (alphanumeric, e.g.
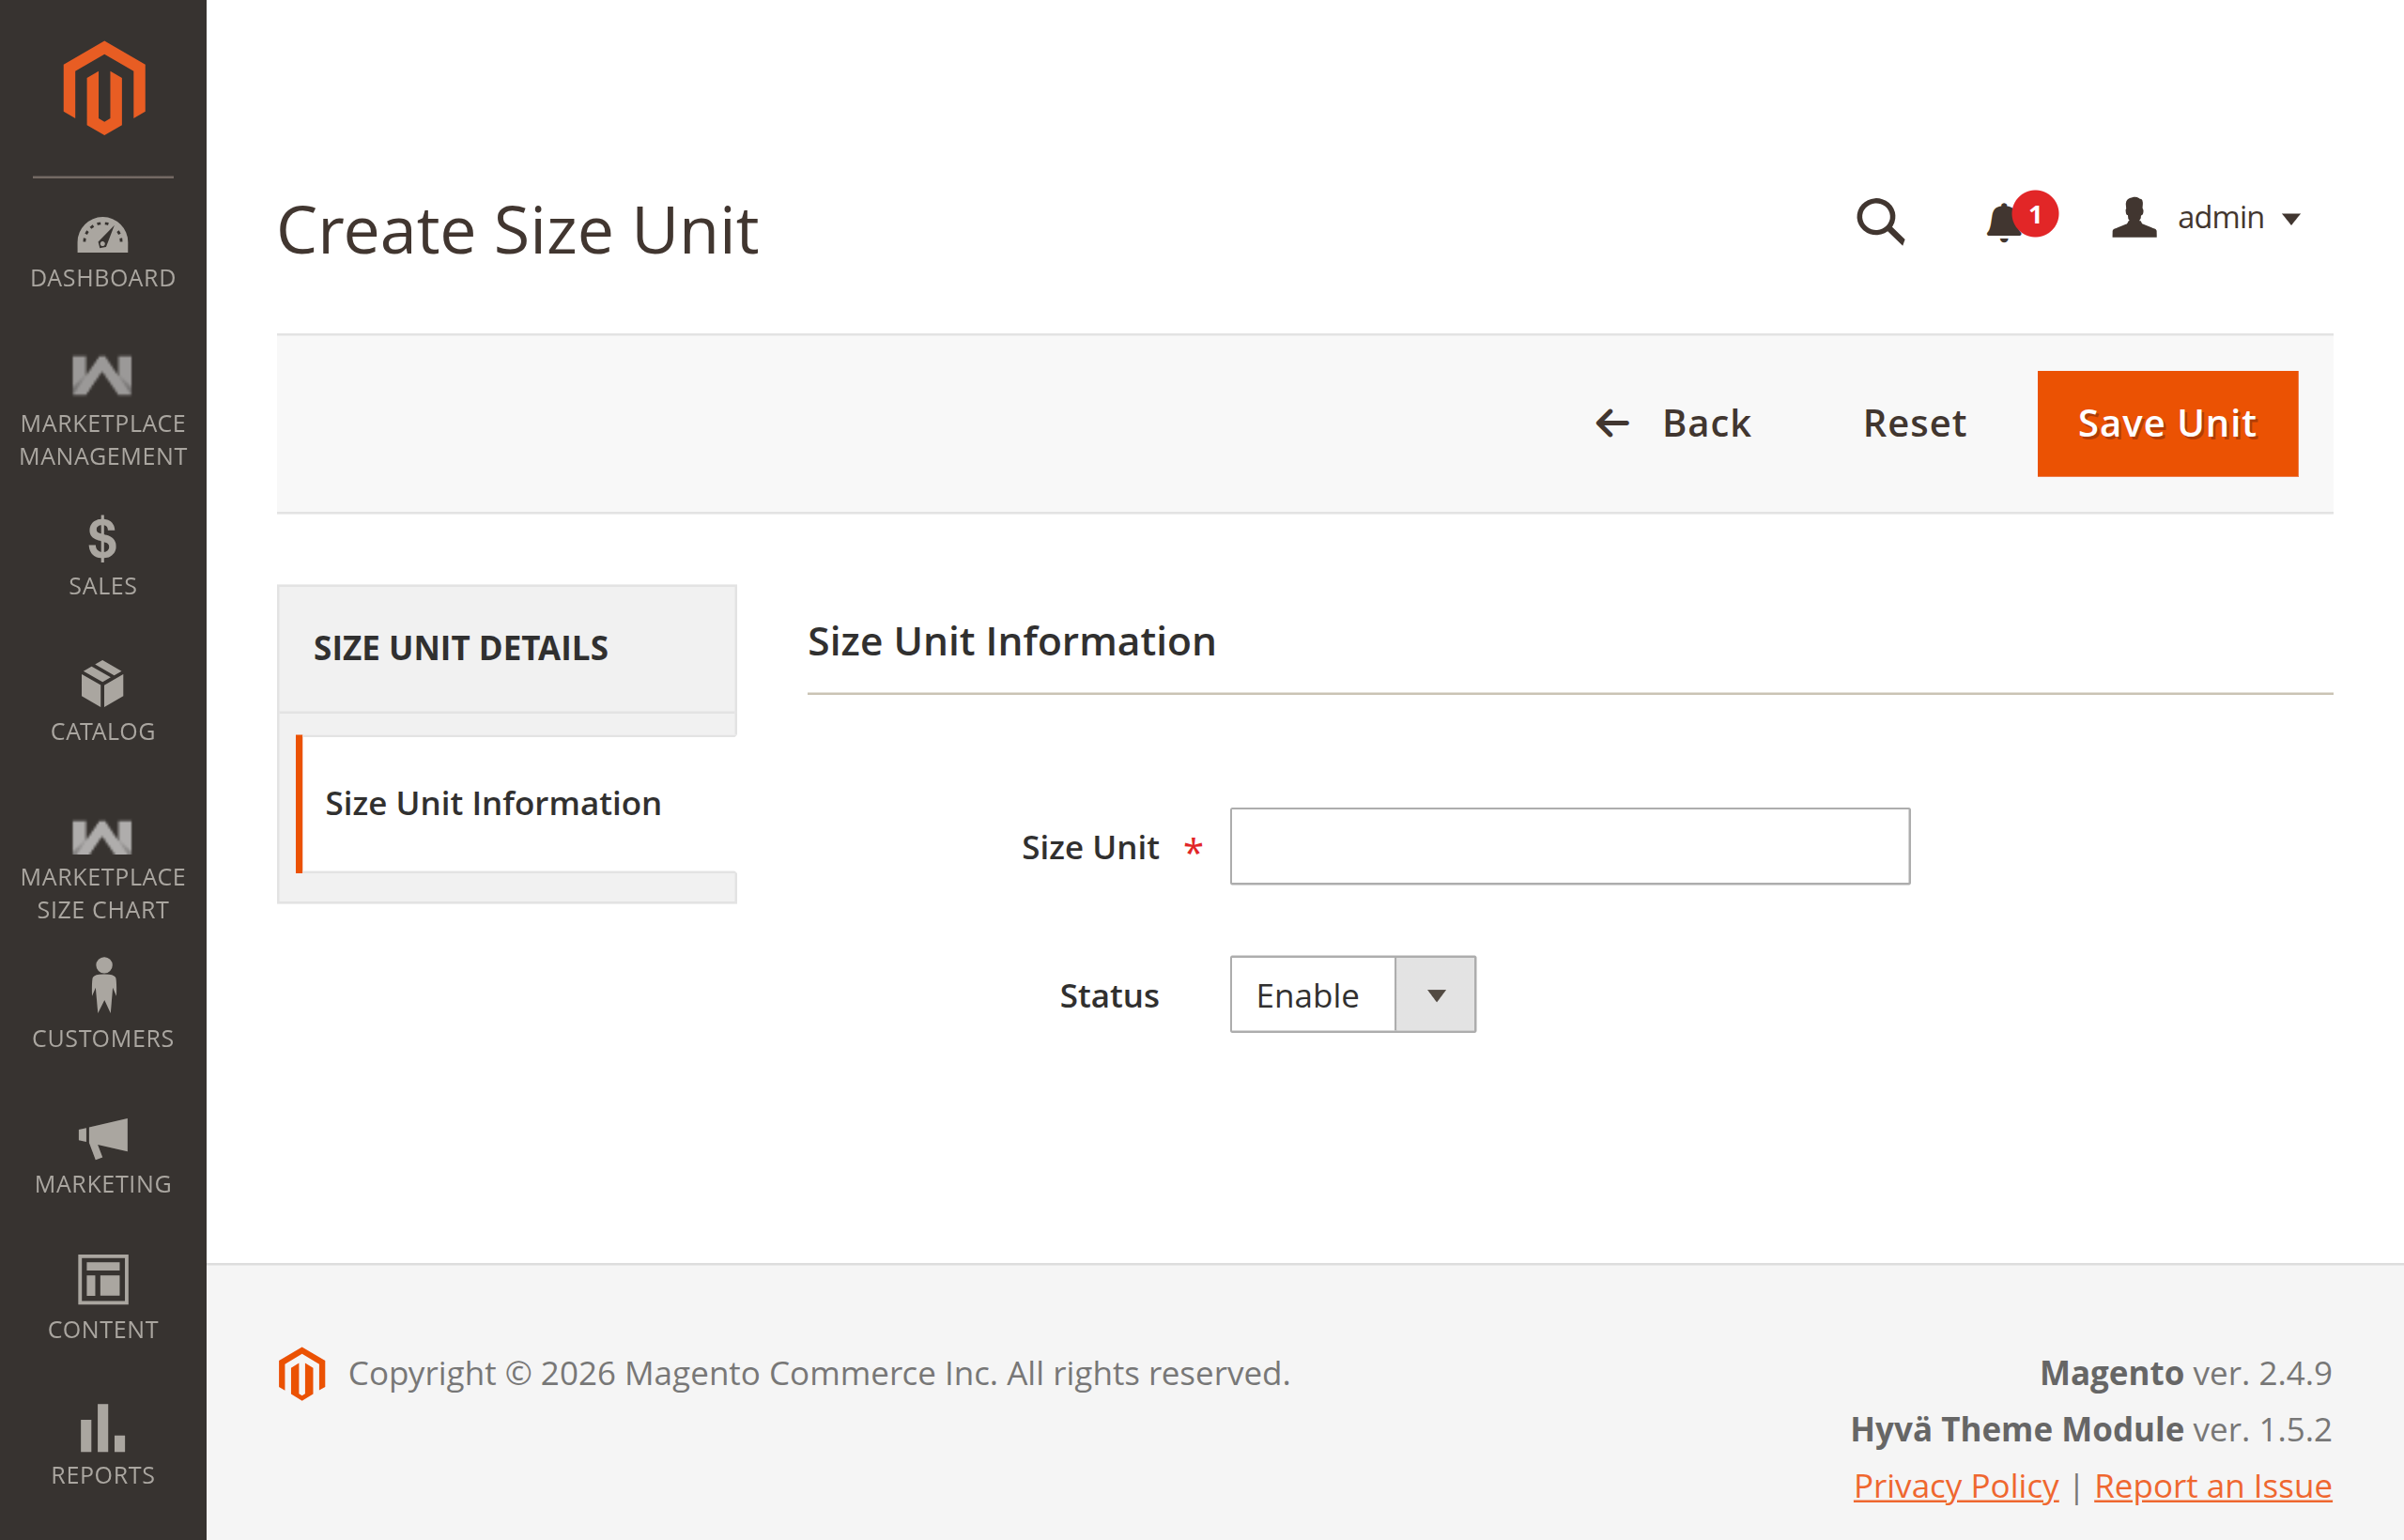
- Click Save Unit.
Grid Actions & Mass Operations
From the Size Units listing grid (mpsizeunits_listing), administrators can:
- Filter and search by
Entity Id,Size Unit,Status,Creation Time, andUpdate Time. - Execute Mass Delete to remove selected units.
- Execute Mass Status to toggle multiple units to
EnableorDisablesimultaneously.
2. Managing Body Measurements
Body measurements define the anatomical dimensions required to determine product fit (e.g., Chest, Waist, Hips, Shoulder Width, Sleeve Length, Length, Inseam).
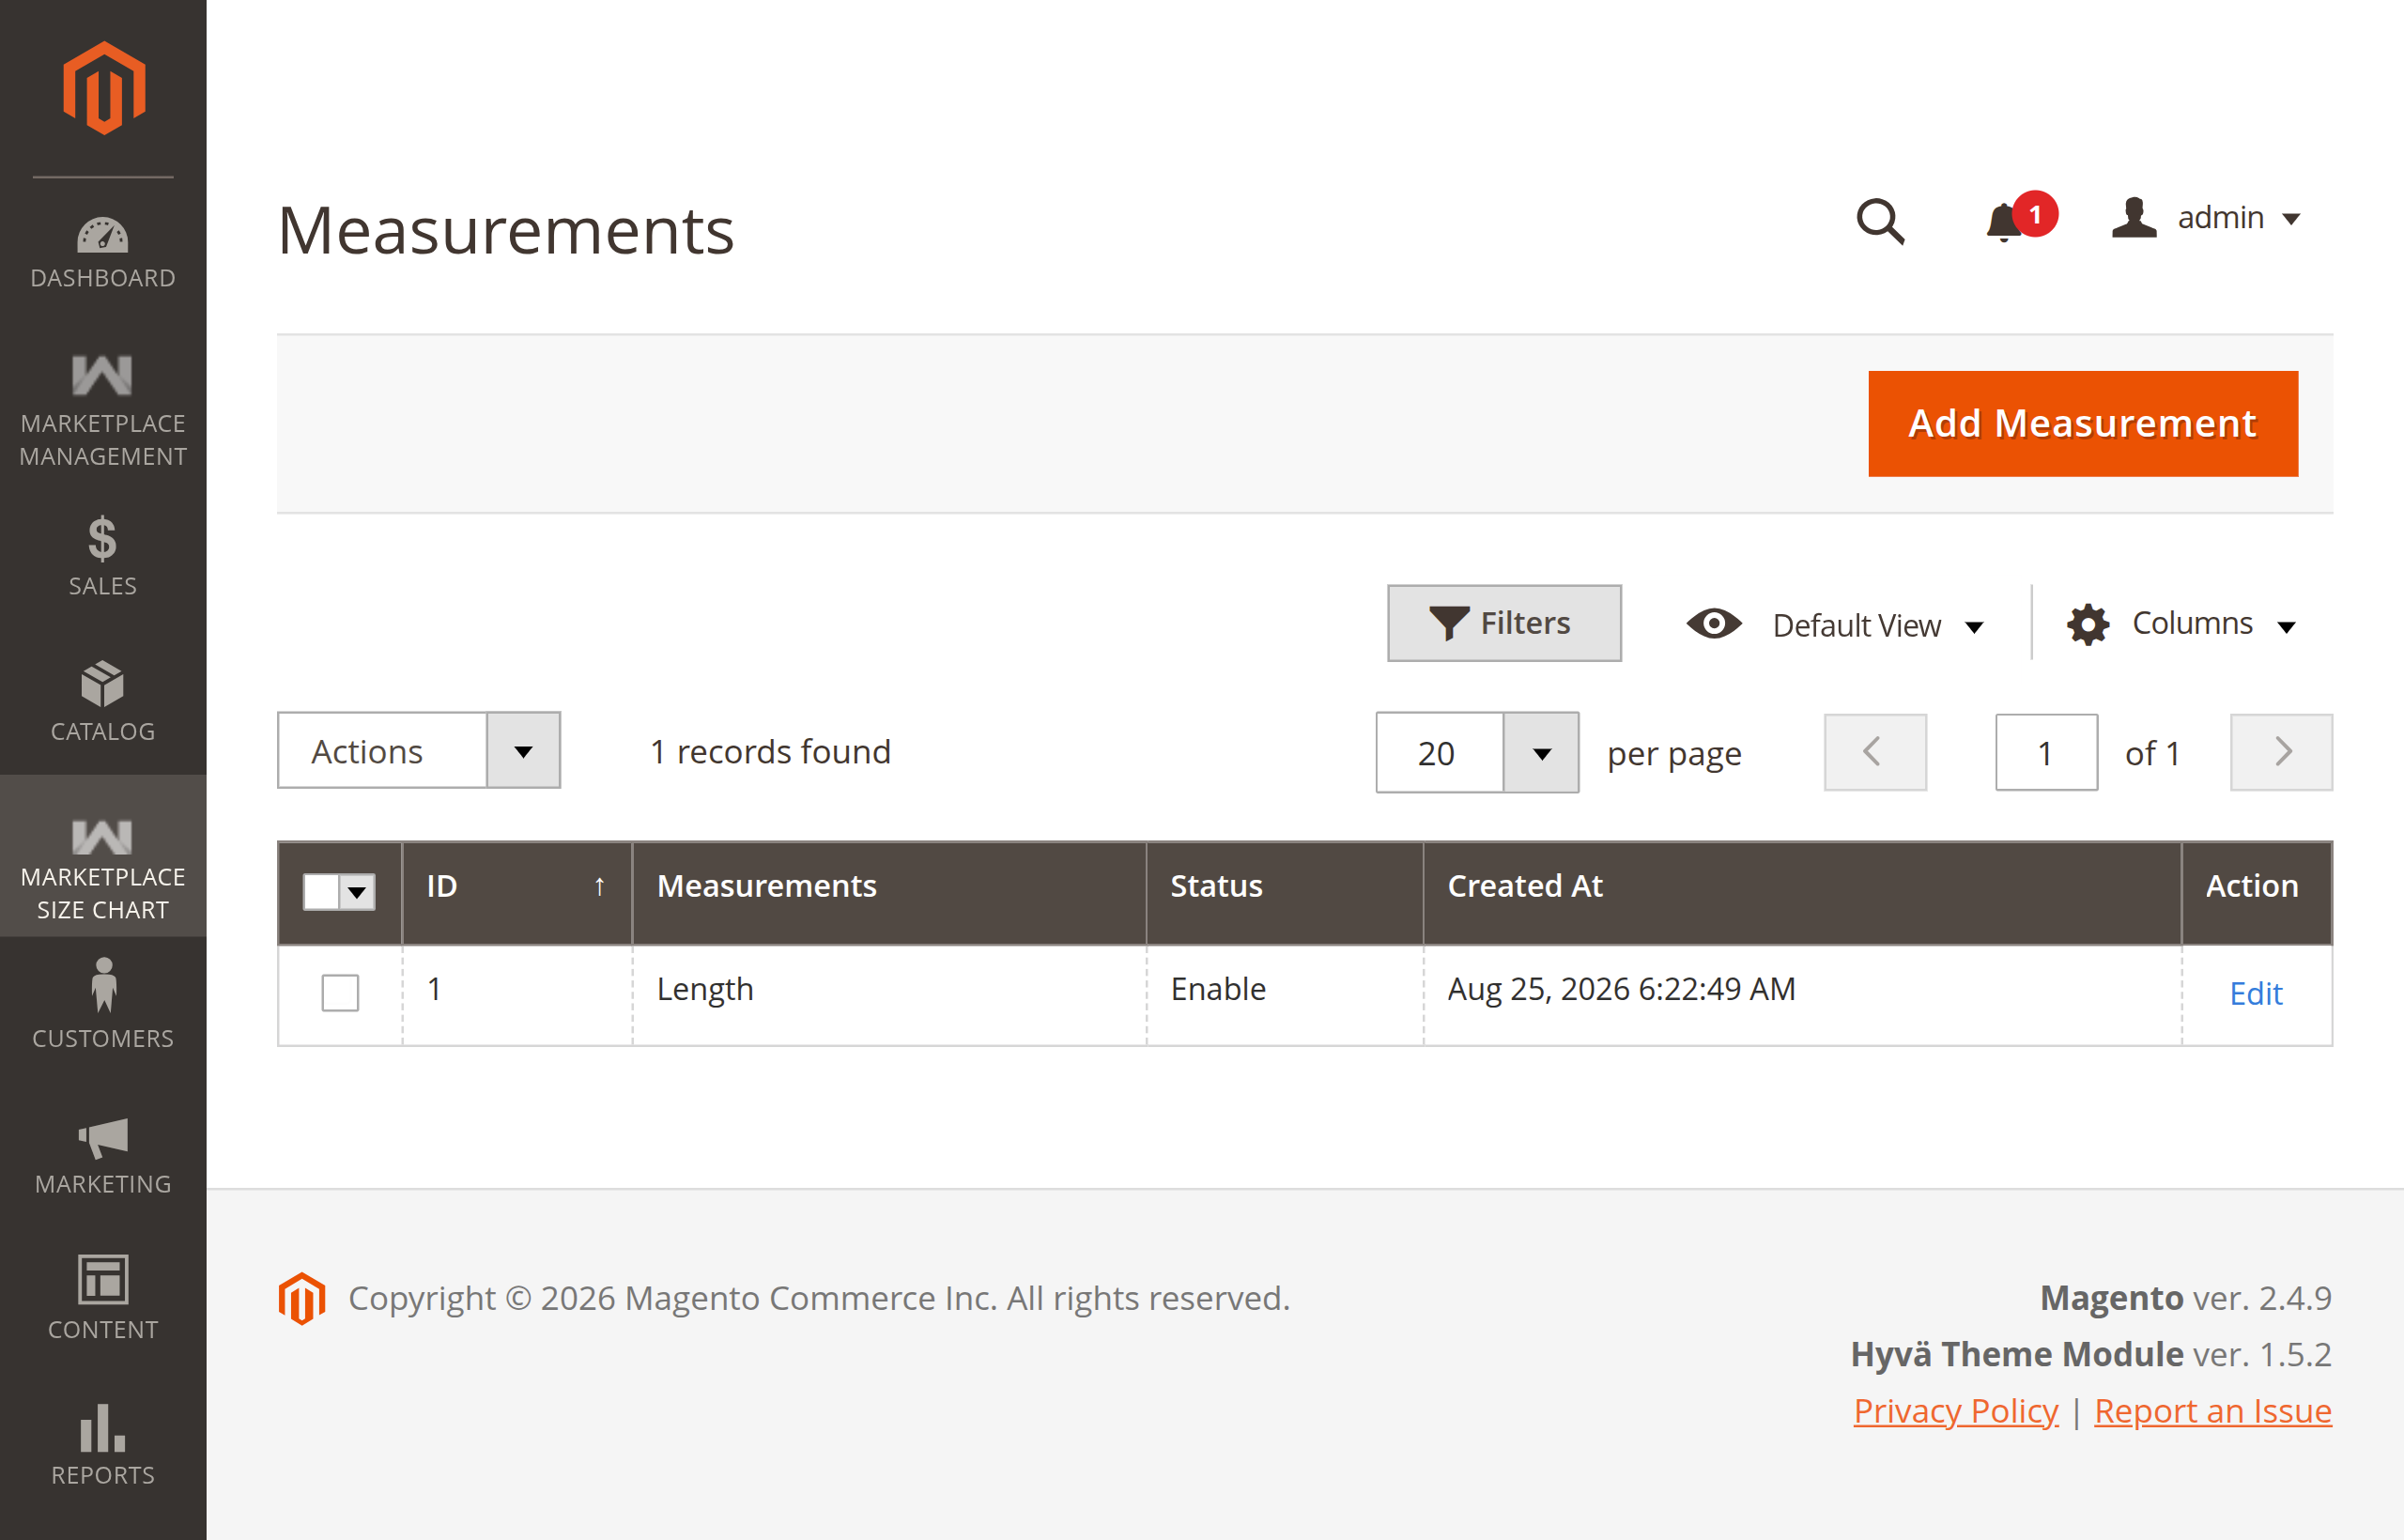
Measurements Listing Grid
Navigate to Webkul > Marketplace Size Chart > Measurements to view and manage all configured body measurements.
Step-by-Step: Adding a Measurement
- Navigate to Webkul > Marketplace Size Chart > Measurements.
- Click Add Measurement in the top-right toolbar.
- Configure the following fields:
- Measurement: Enter the measurement dimension name (e.g.,
Length,Chest / Bust,Waist). - Status: Set to
Enable. - Measurement Image: Click Upload to attach an illustrative diagram showing customers where and how to measure this dimension on their body. Supported formats:
PNG,JPG,JPEG,GIF.
- Measurement: Enter the measurement dimension name (e.g.,
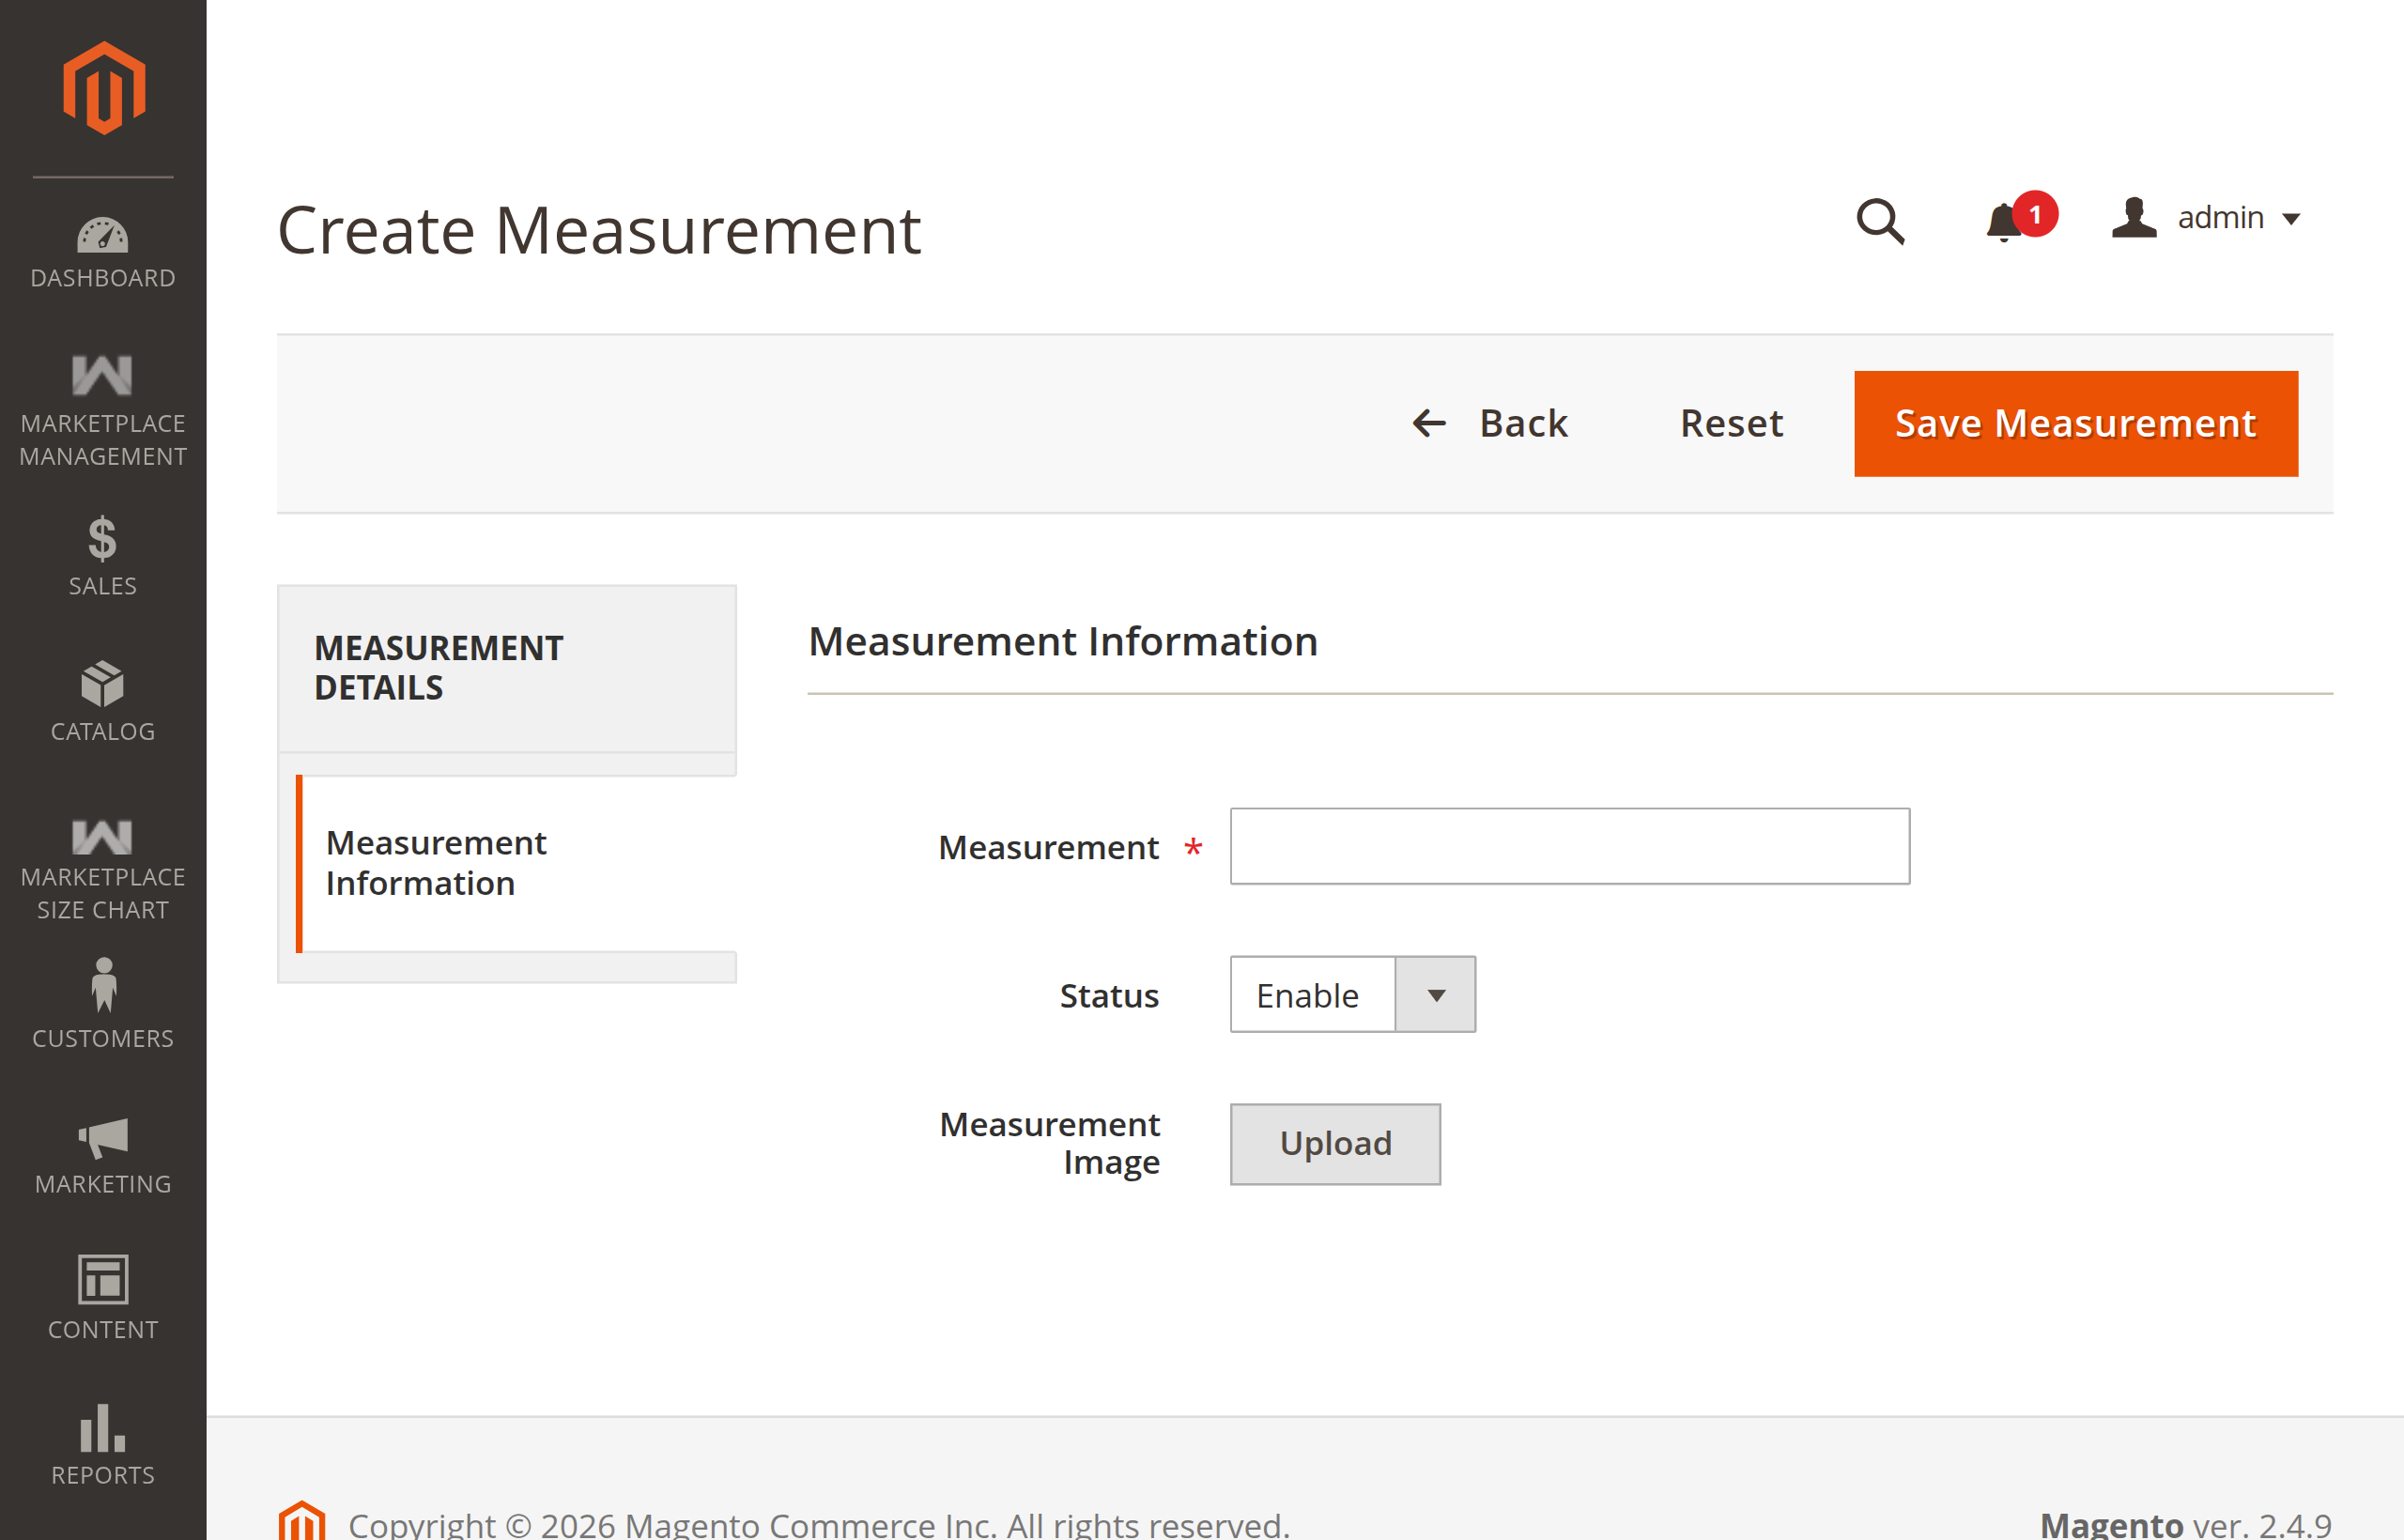
- Click Save Measurement.
Guide Images
Providing clear visual measurement diagrams is essential for the Custom Size Chart frontend tab, where the diagram dynamically updates as the buyer enters each dimension.
3. Creating Size Chart Templates
A Size Chart Template combines selected size units and body measurements into a structured, editable matrix table.
Size Chart Templates Listing Grid
Navigate to Webkul > Marketplace Size Chart > Size Chart Templates to view all configured templates.
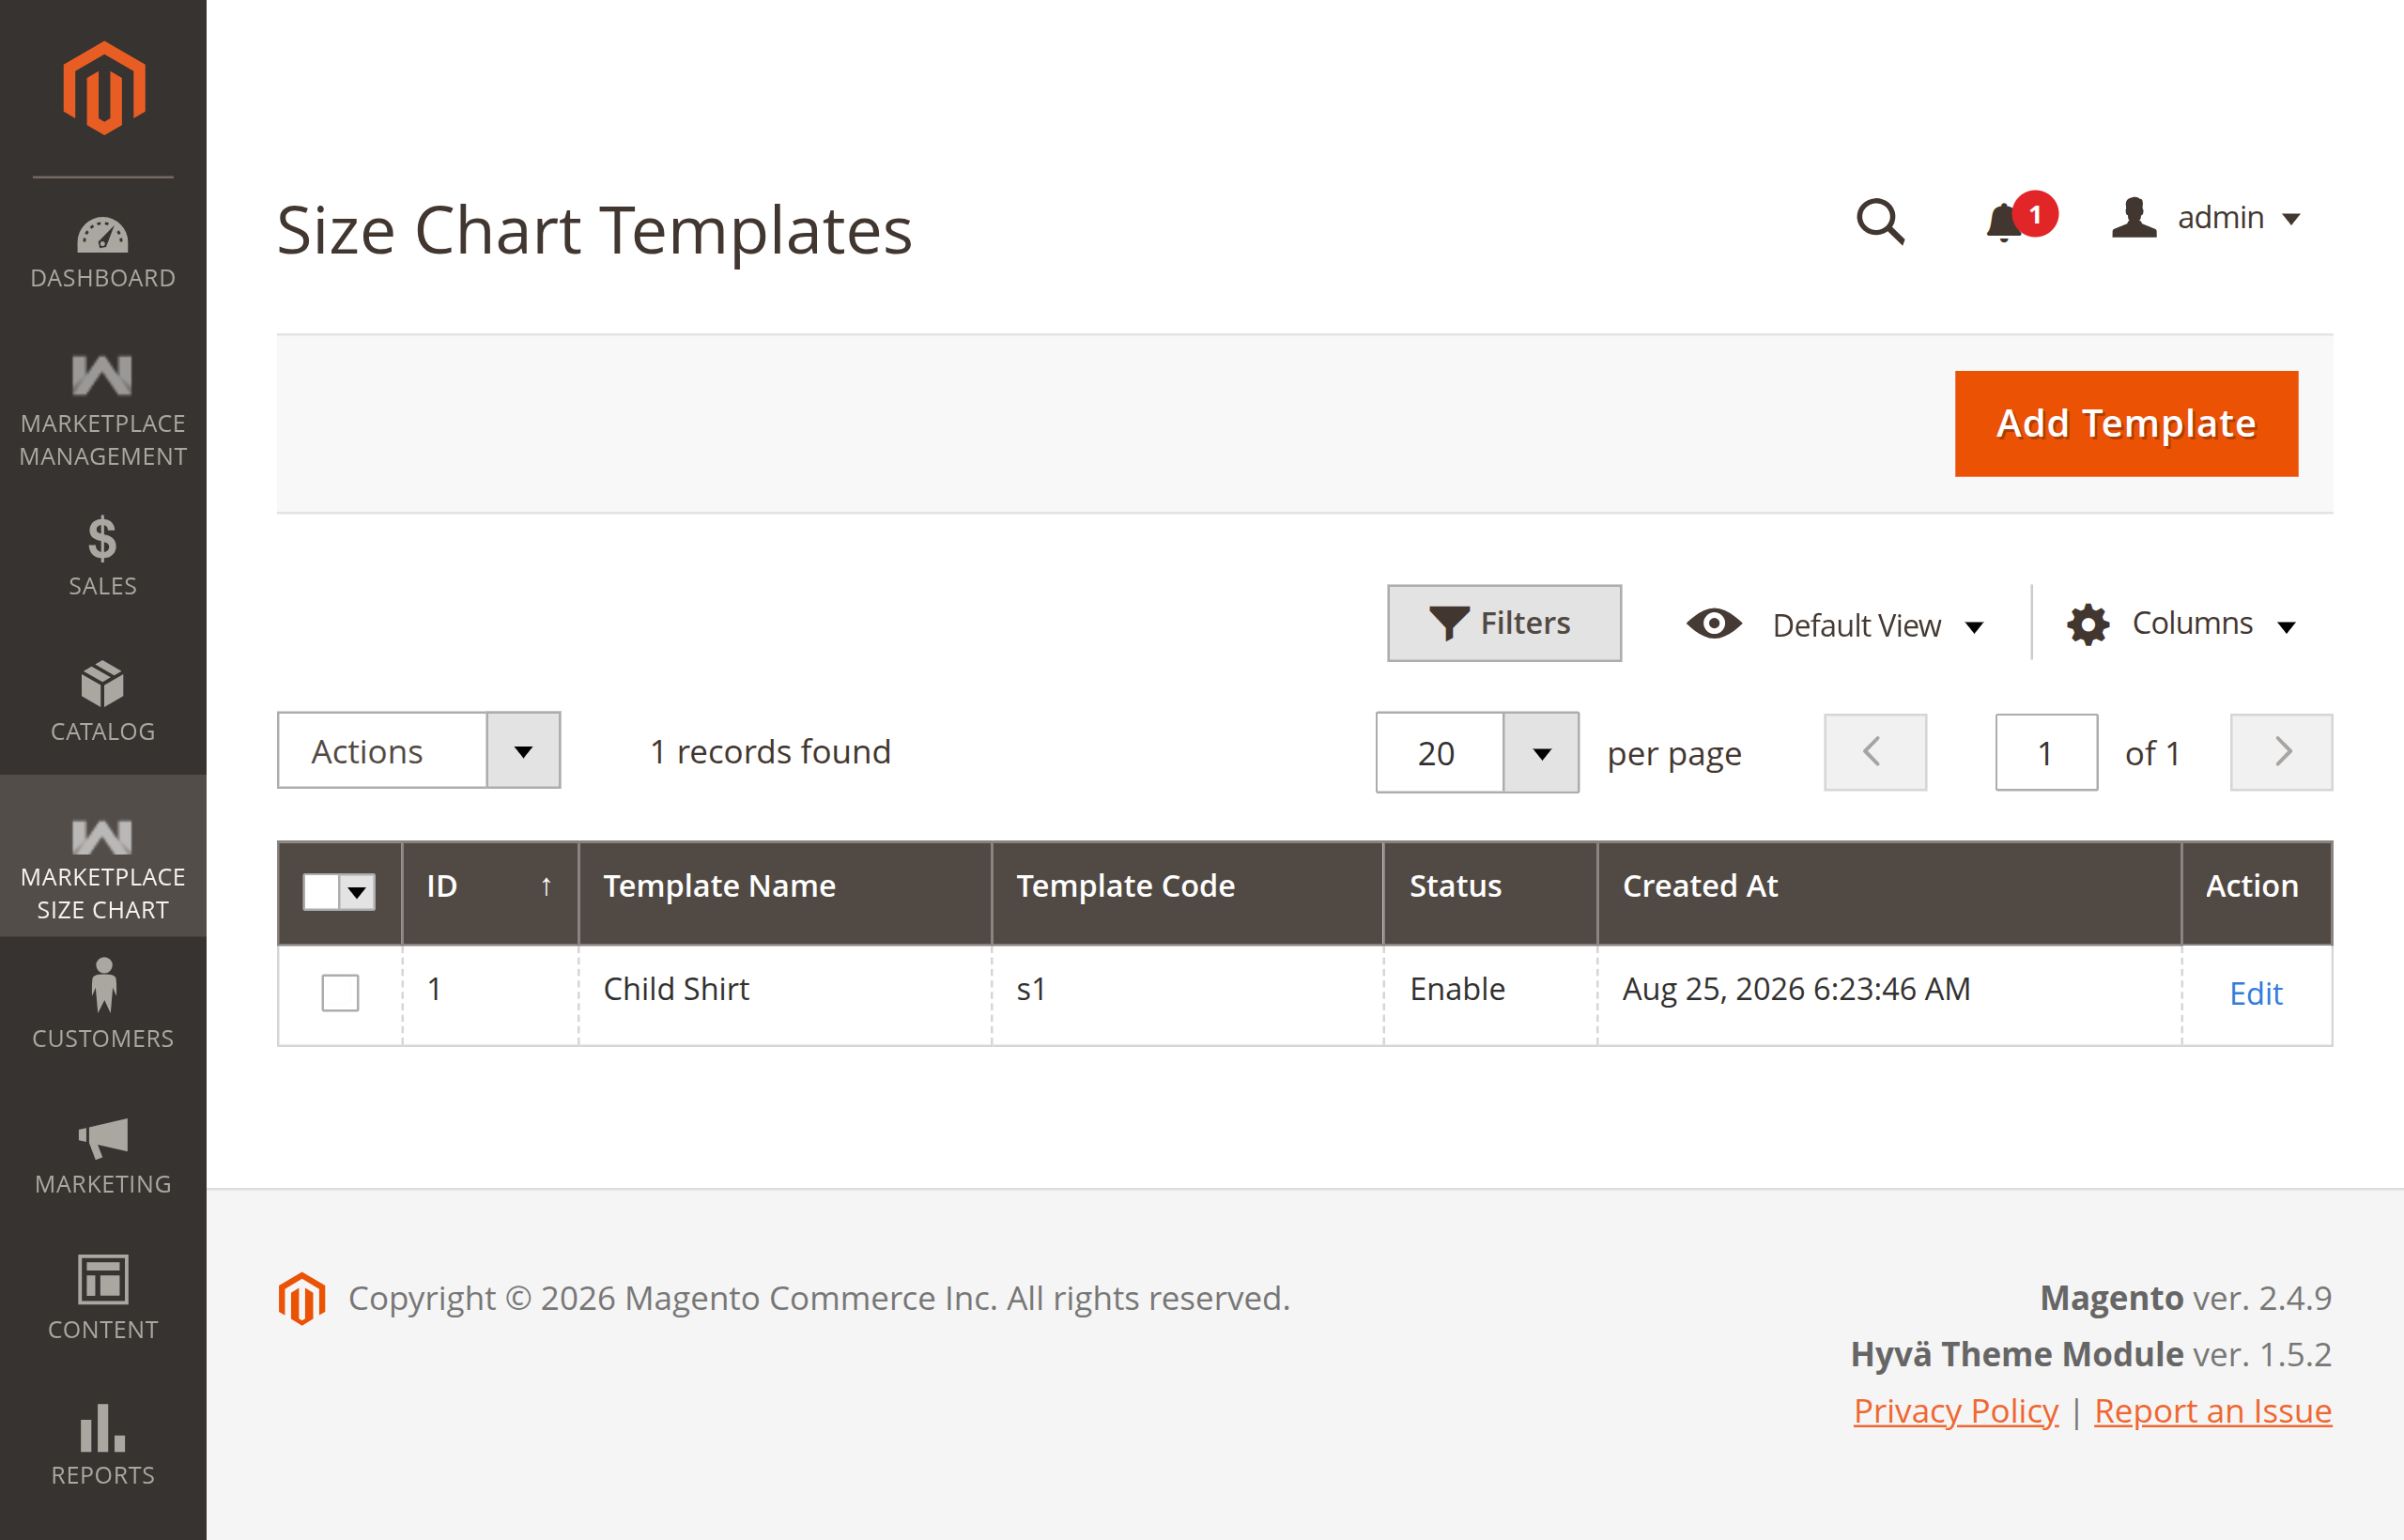
Step 1: Template Information & Matrix Generation
- Navigate to Webkul > Marketplace Size Chart > Size Chart Templates.
- Click Add Template.
- In the Template Information tab:
- Template Name: Enter a descriptive title (e.g., Child Shirt or Men's Slim Fit Shirts).
- Template Code: Enter a unique alphanumeric code without spaces (e.g.,
s1ormens_slim_fit_shirts). (Note: Cannot be changed after creation). - Status: Set to
Enable.
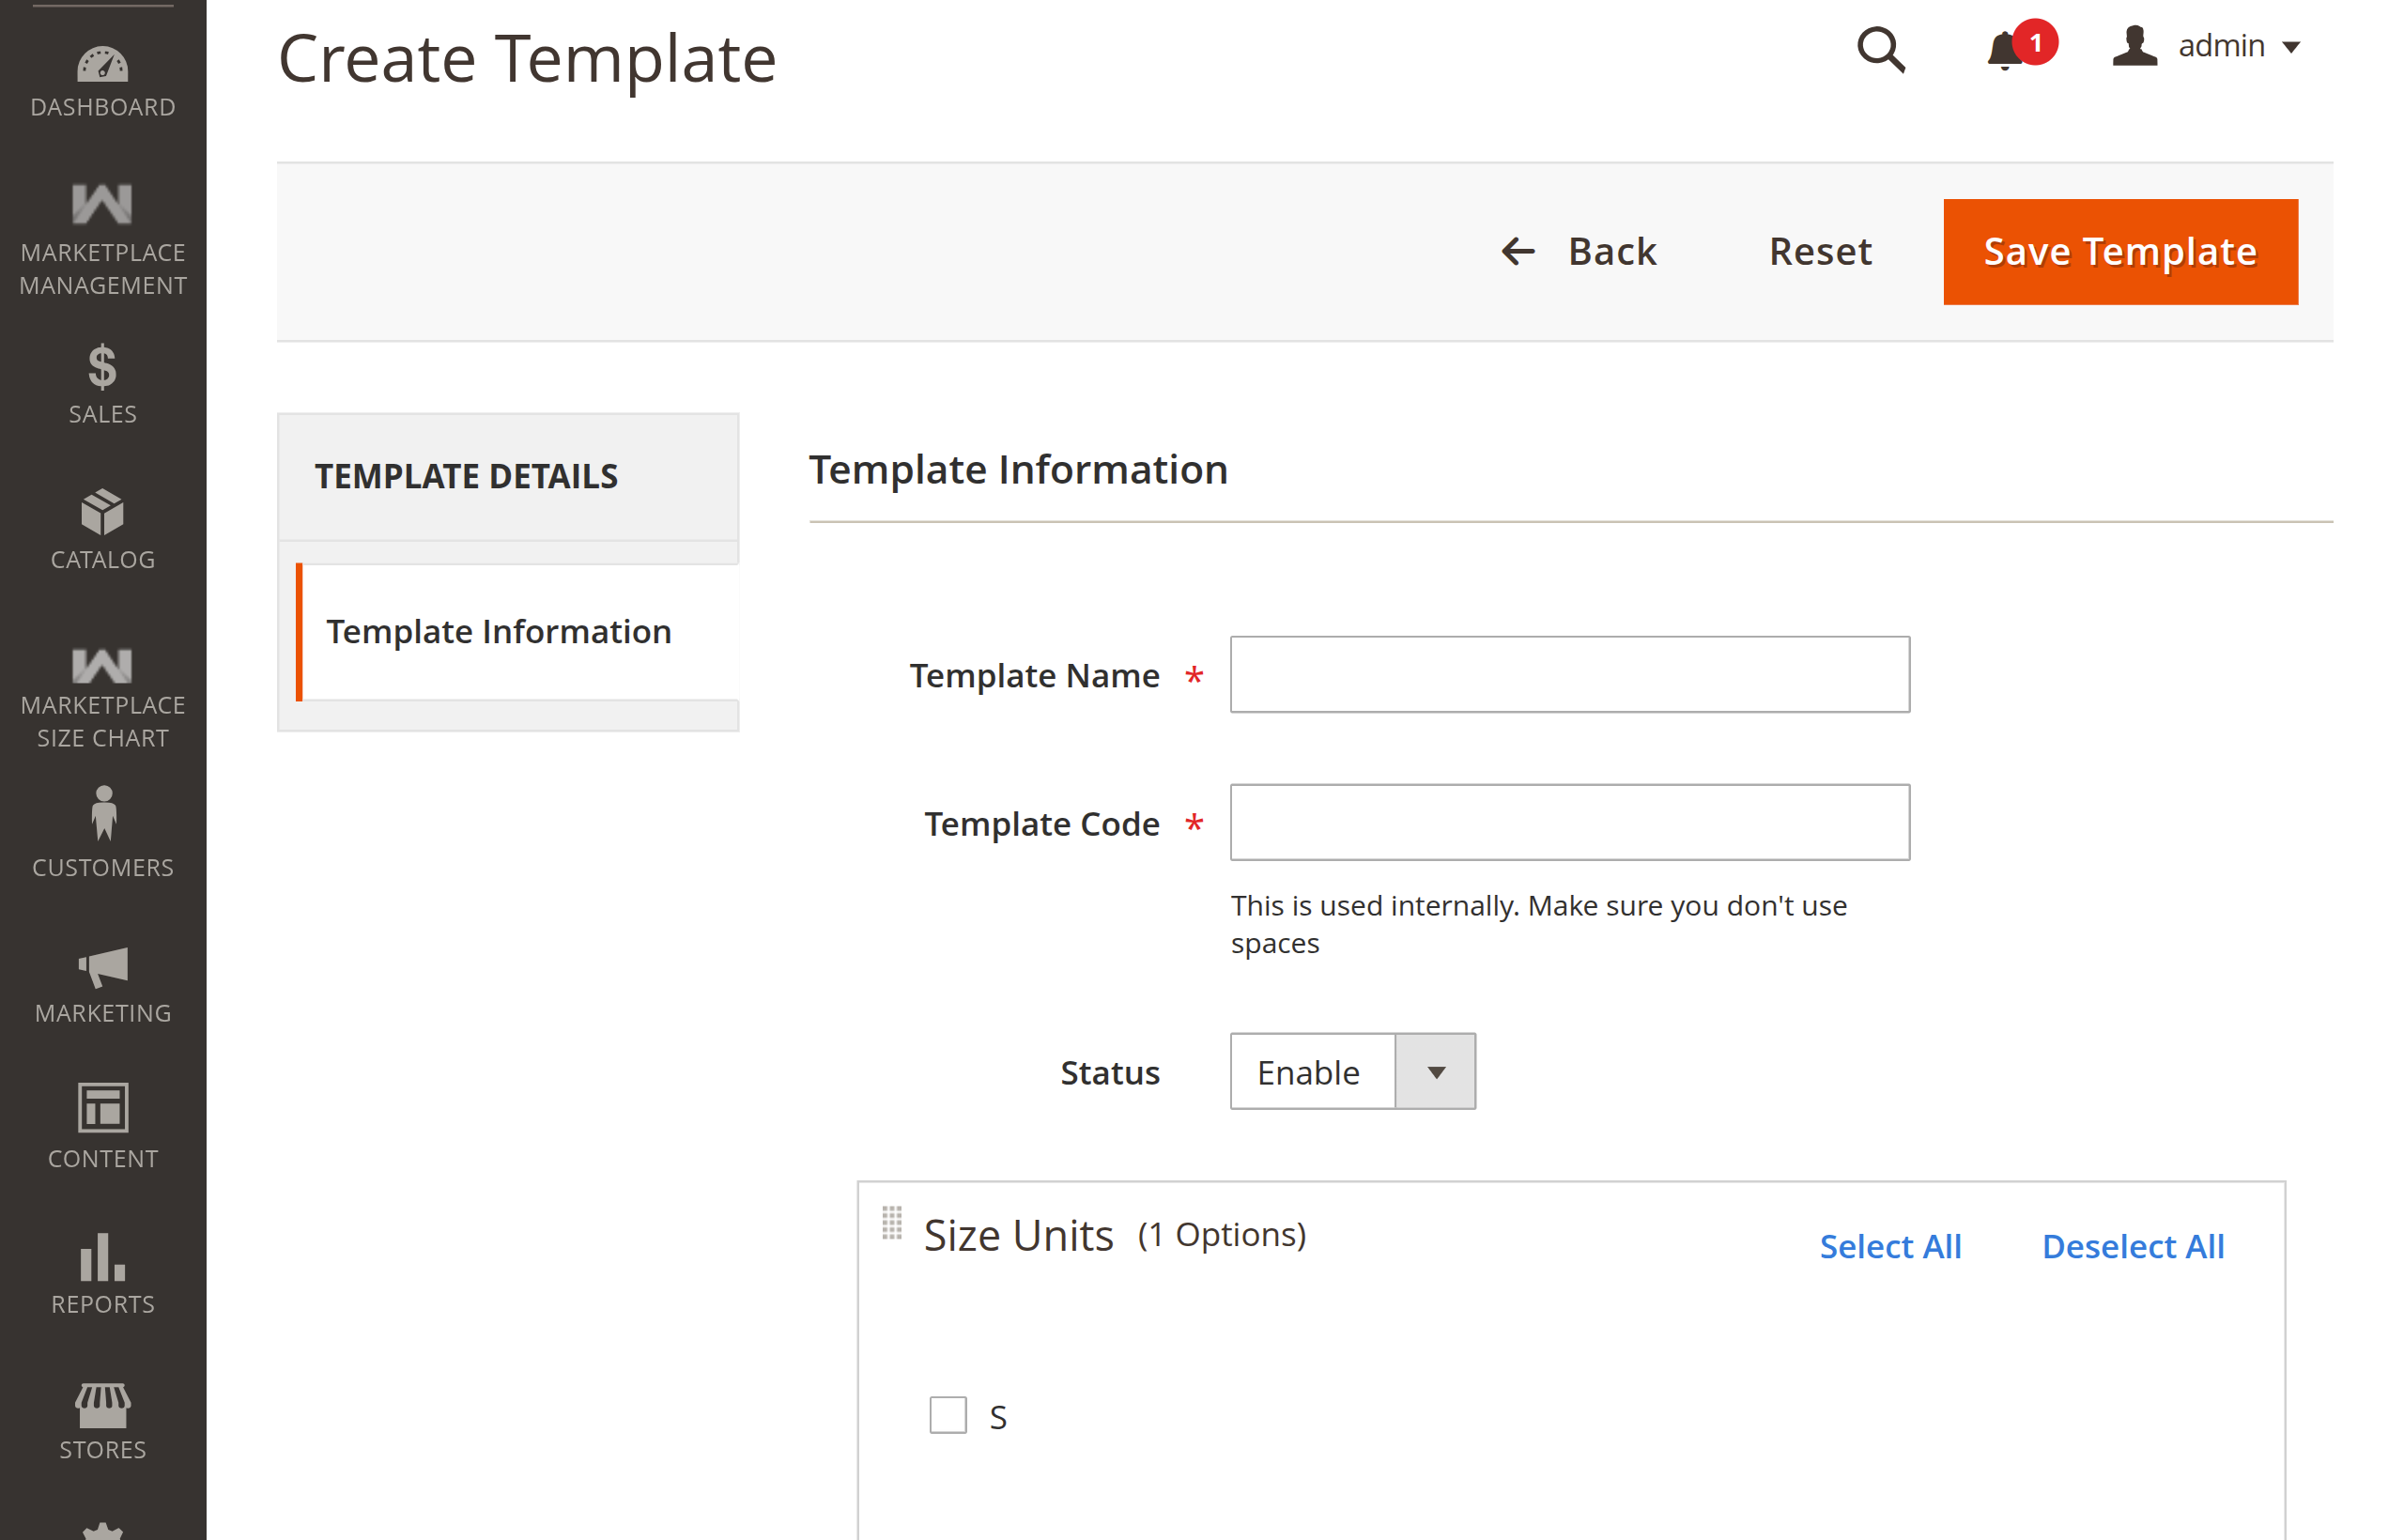
- In the Size Units box, check the units to include in the chart (or click Select All).
- In the Body Measurements box, check the required measurement parameters.
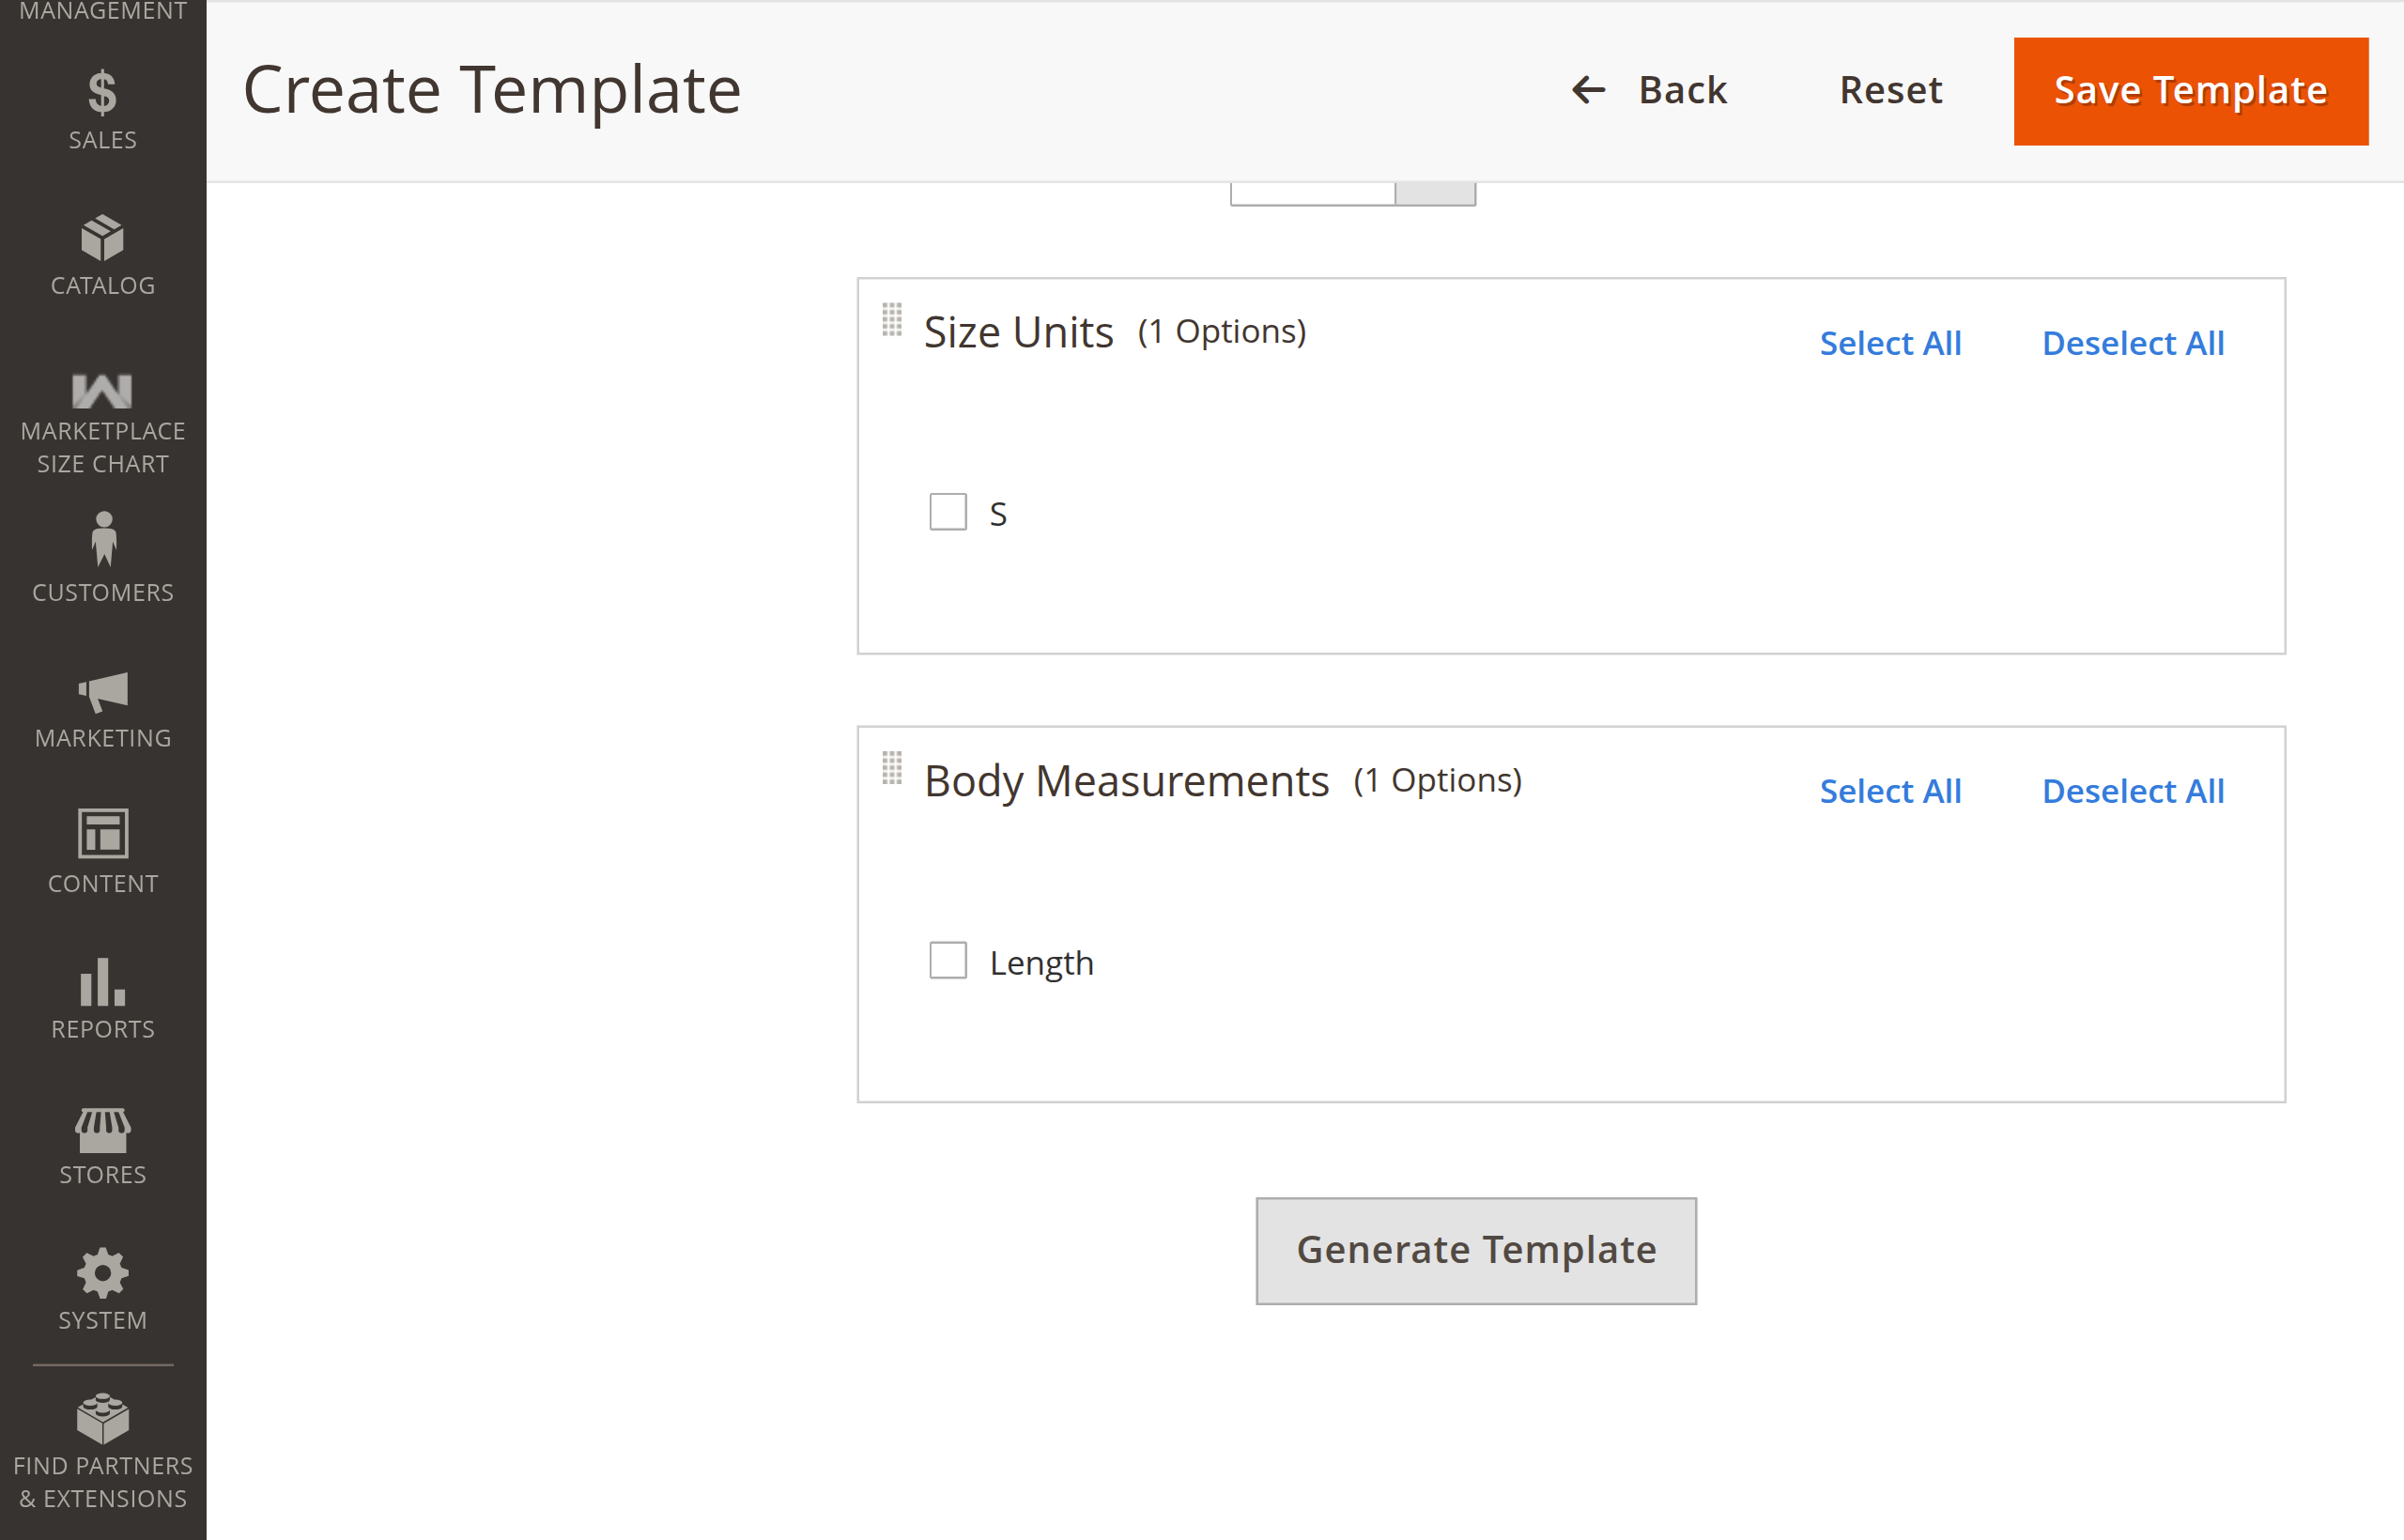
- Click the Generate Template button:
- A dynamic matrix grid will generate below.
- Enter the corresponding numerical dimensions into each matrix cell (e.g., Size: S, Length:
20). - Click Edit Options if you need to adjust the selected units or measurements.
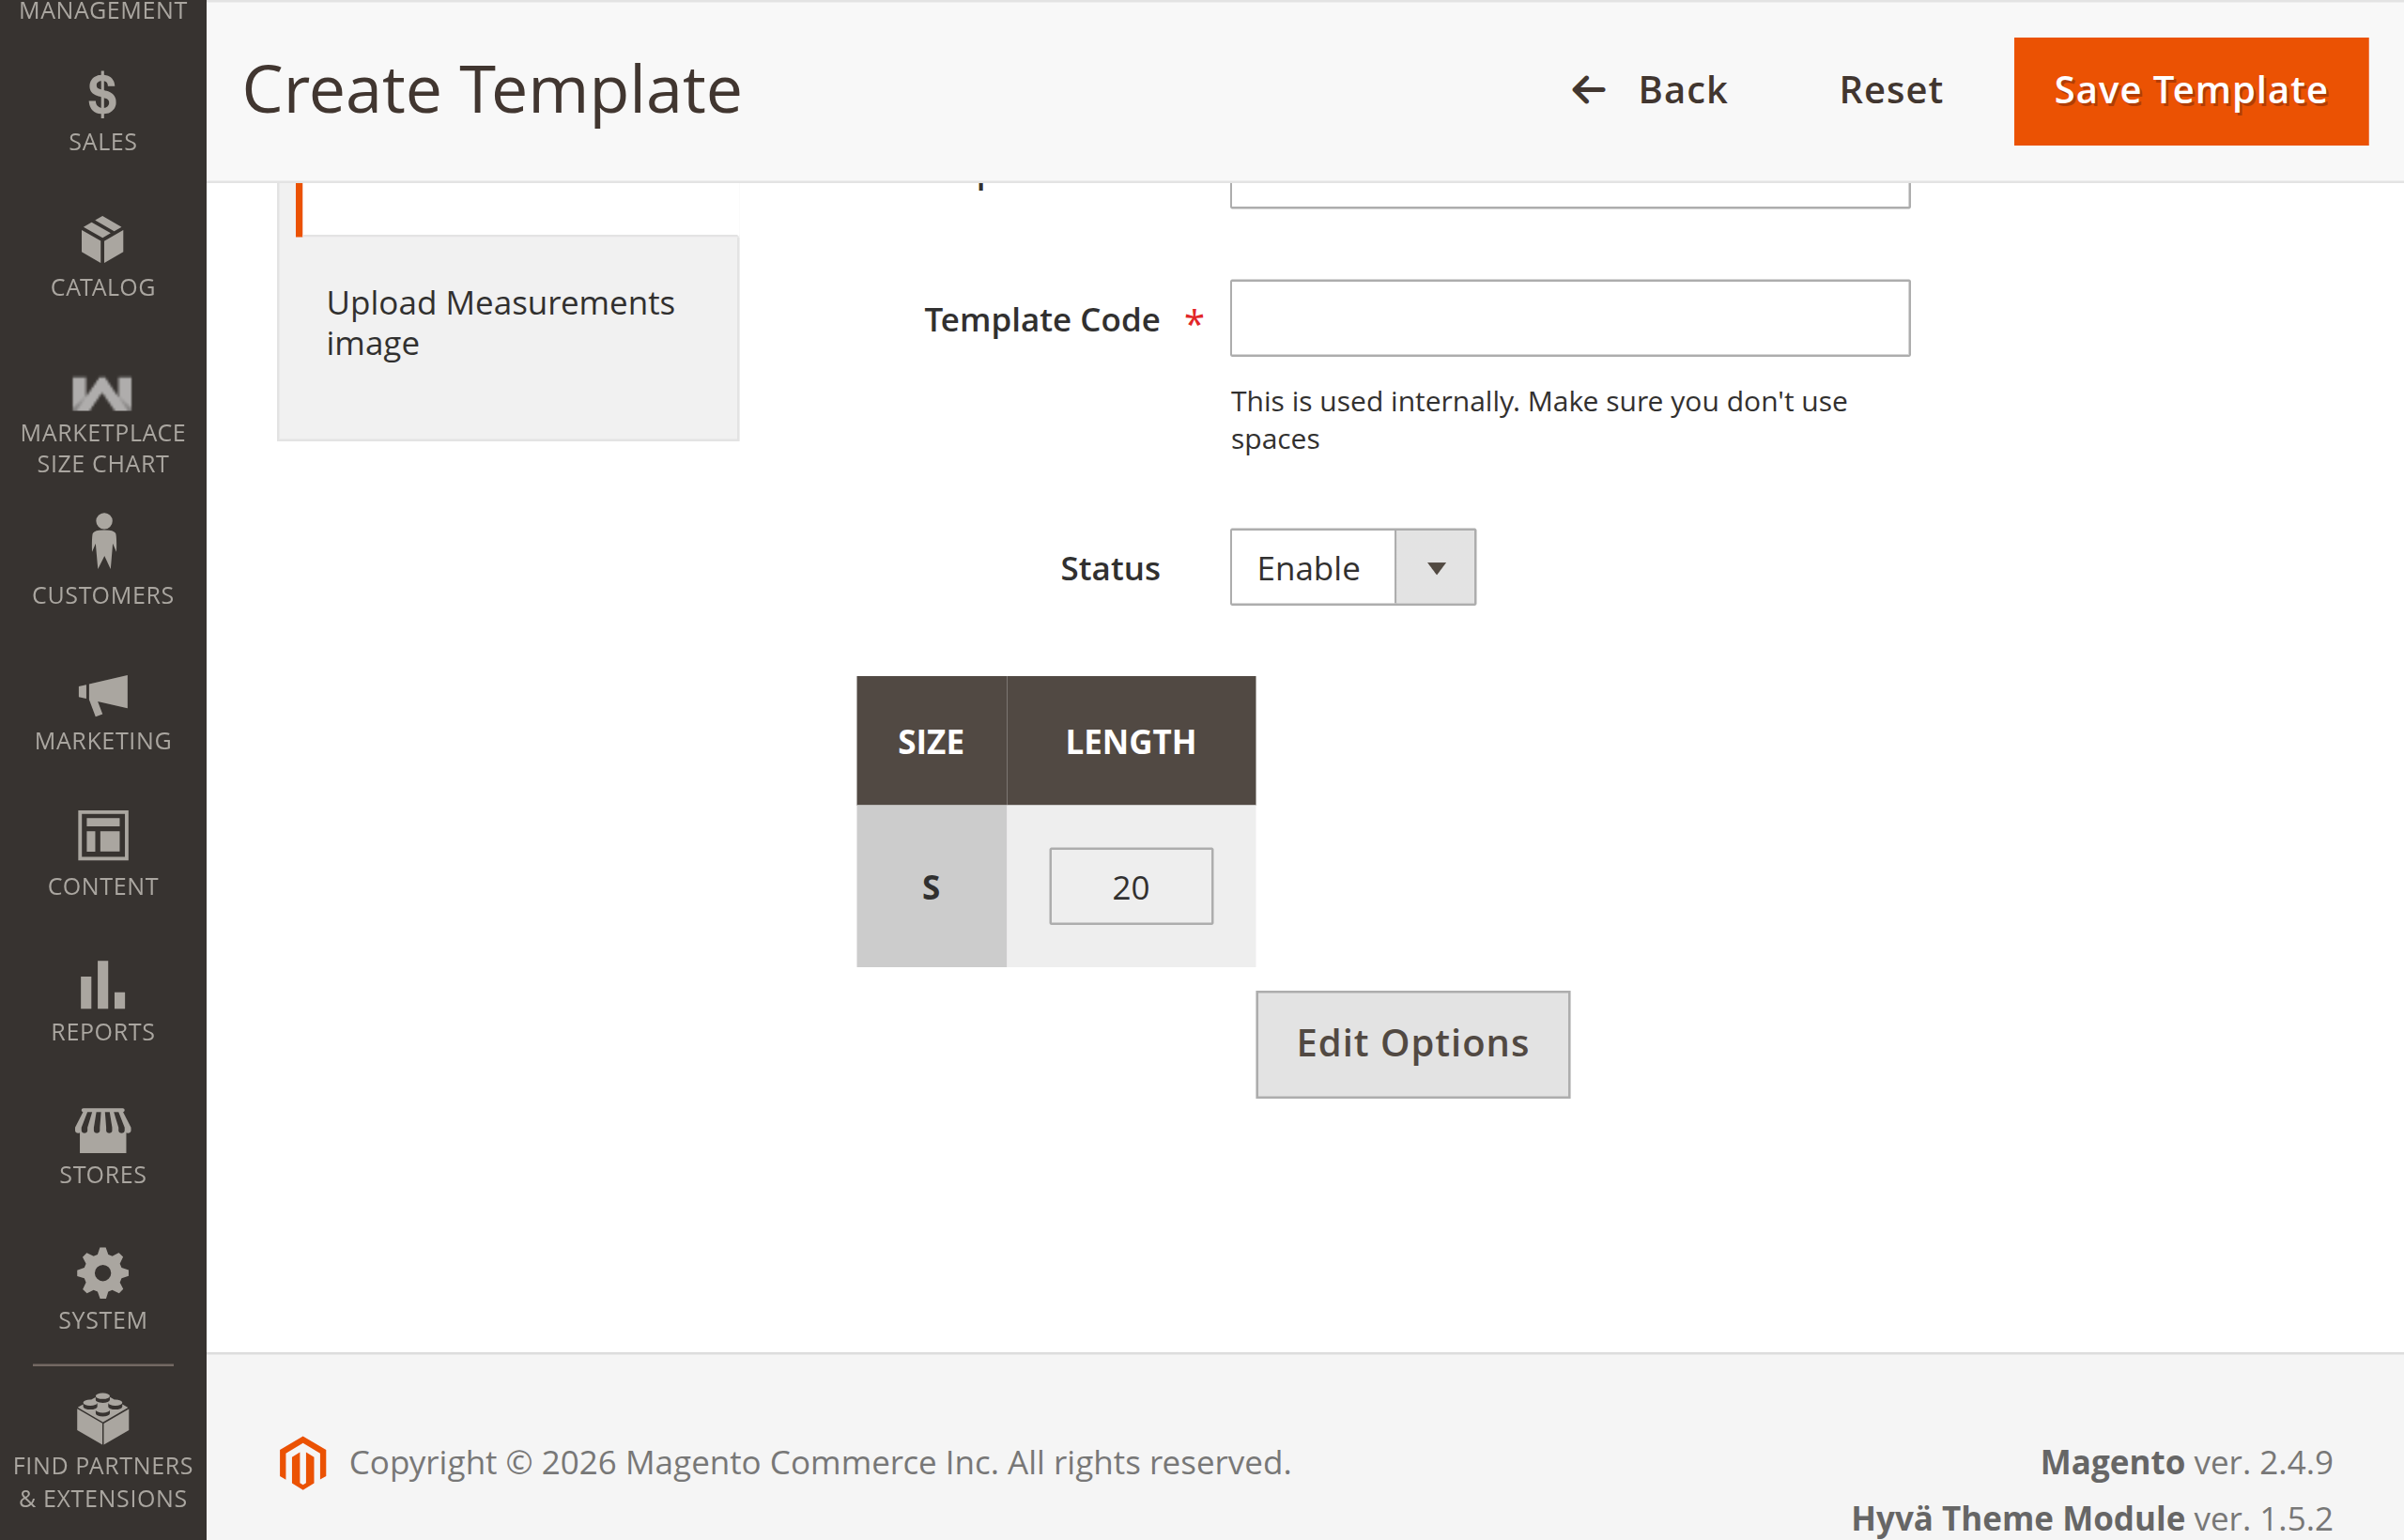
Step 2: Upload Measurements Image (Custom Chart)
- Click Upload Measurements image in the left navigation tab (or the step indicator).
- For each measurement included in the template:
- Use the Upload button under Image Uploader to attach a guide diagram for this specific template.
- The uploaded diagram will be previewed under the Image Preview column.
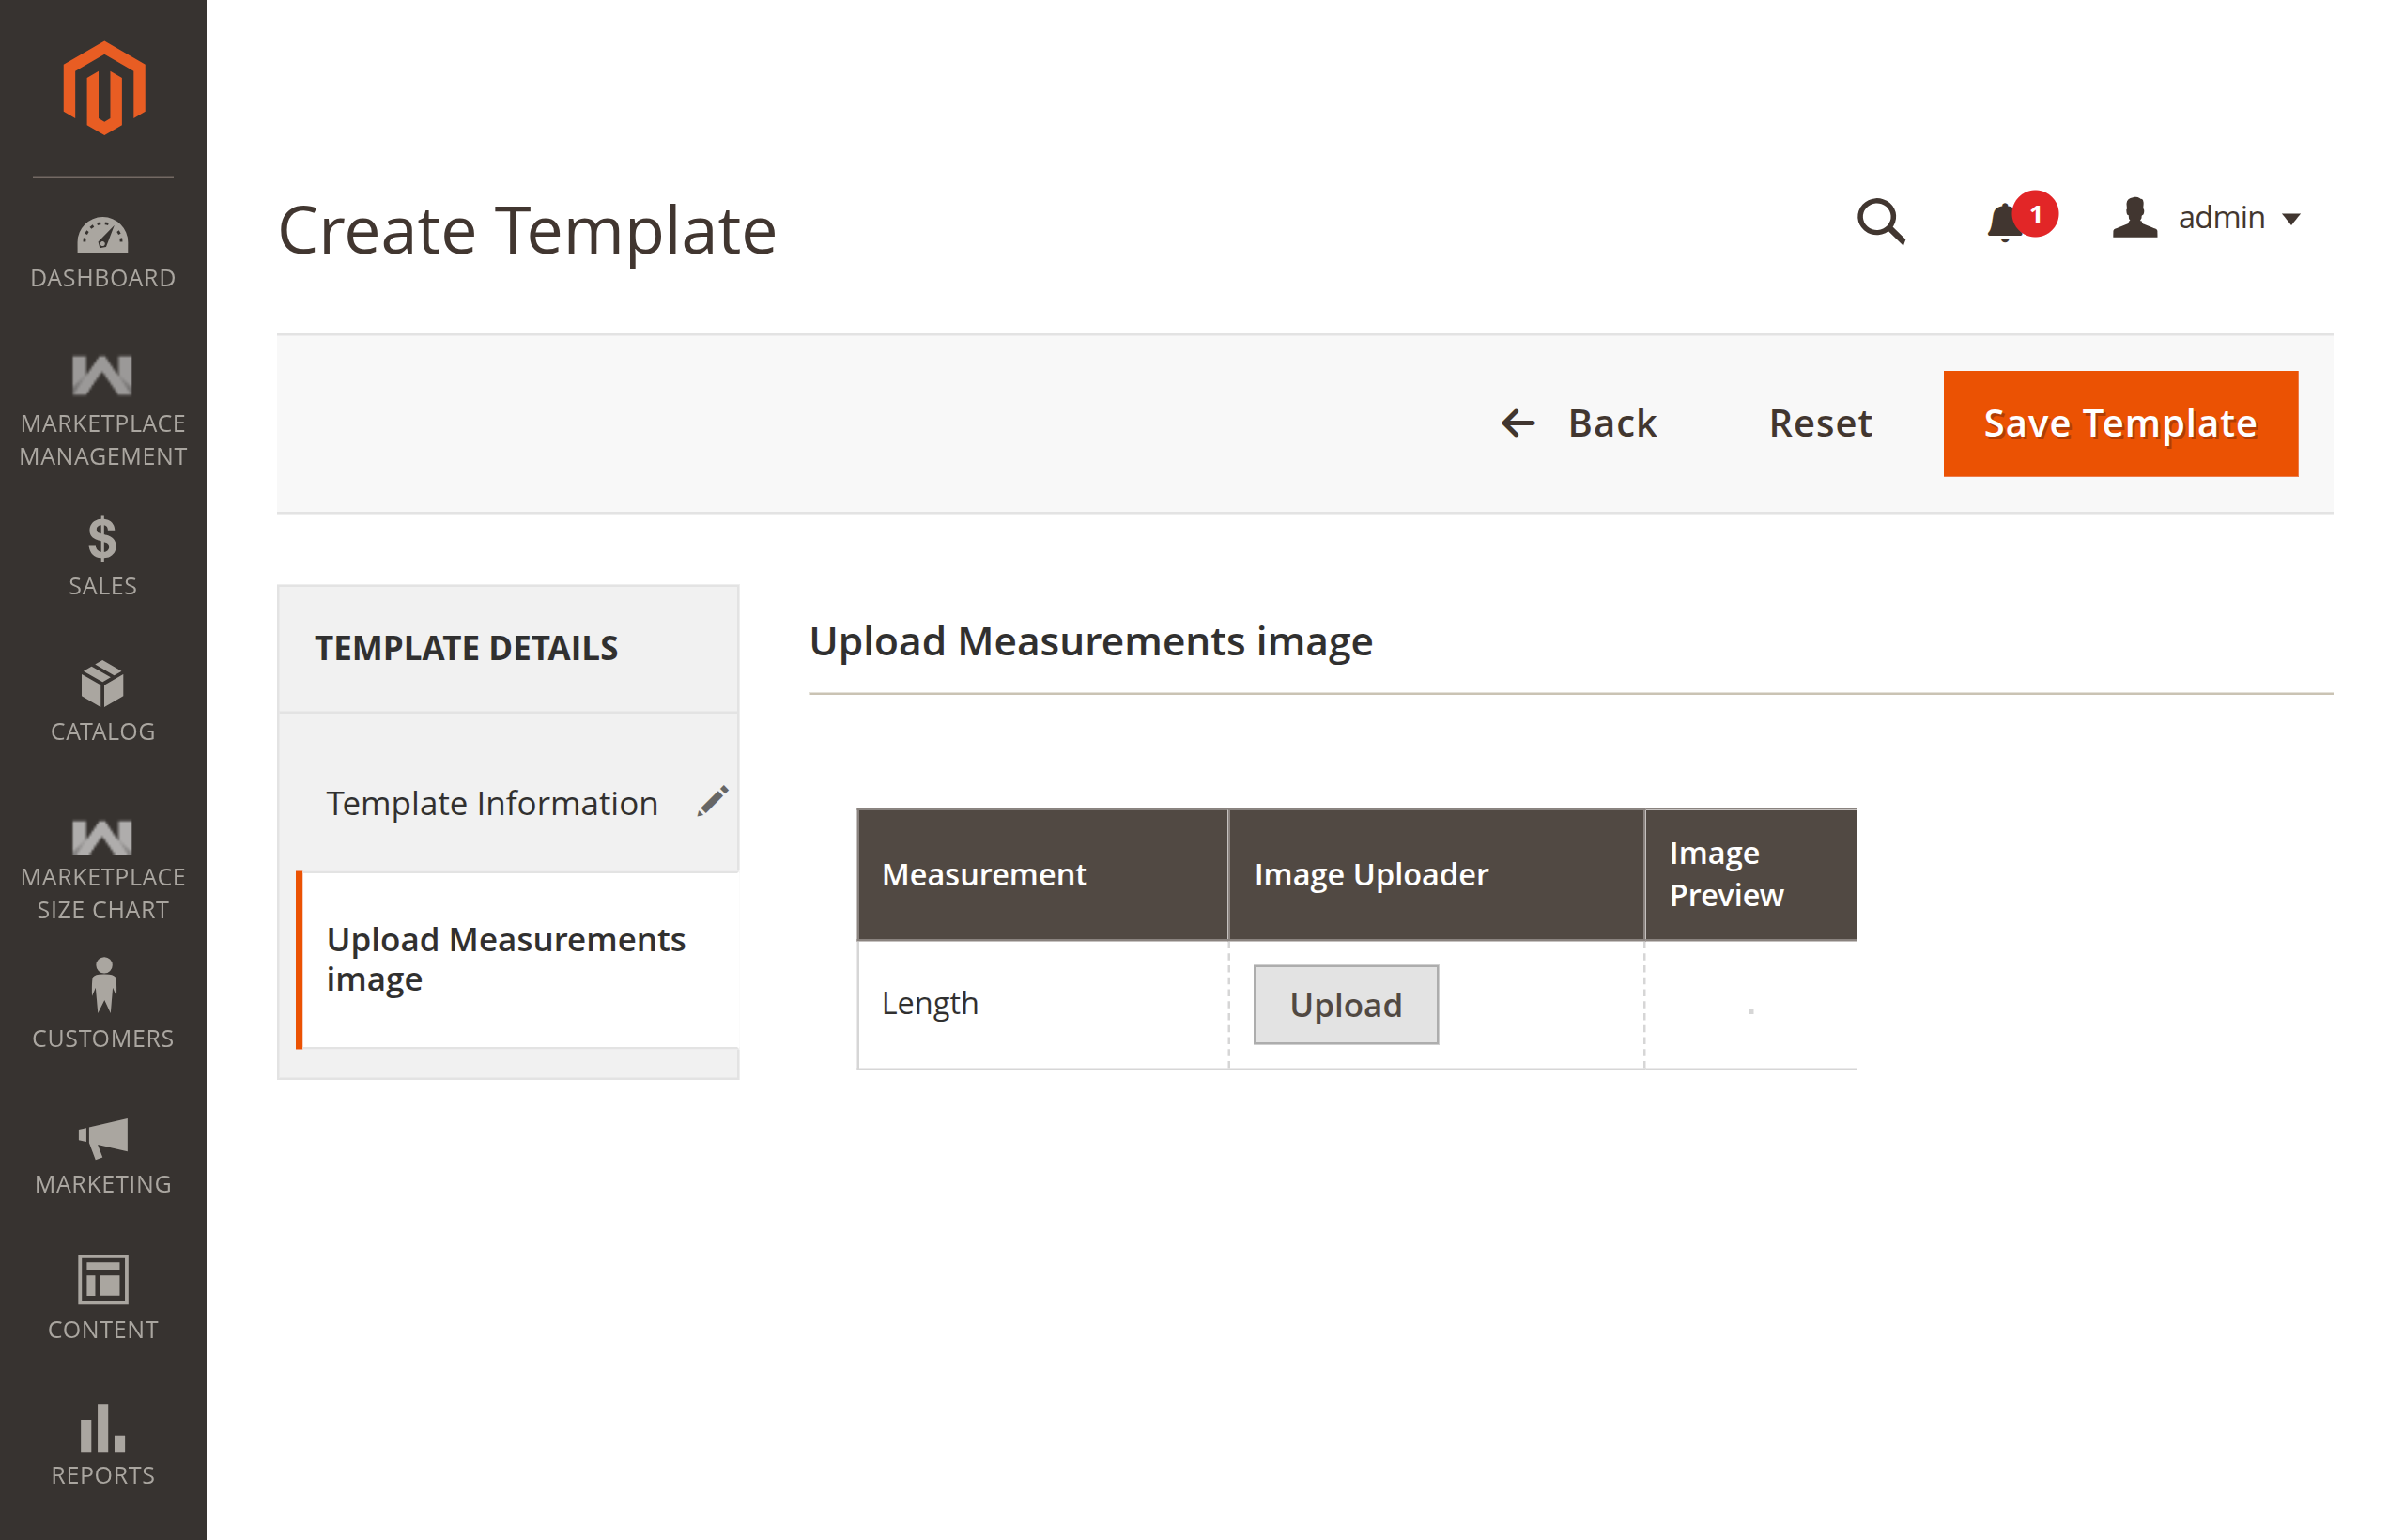
- Click Save Template to persist the record.
4. Seller Menu Oversight
To maintain marketplace quality, administrators can review all size units, measurements, and templates created by marketplace sellers:
Seller Size Units:
Navigate to Webkul > Marketplace Size Chart > Seller Menu > Size Units (mpsizecharttemplate/seller/sizeunits). View all seller-owned size units with seller customer ID associations.Seller Measurements:
Navigate to Webkul > Marketplace Size Chart > Seller Menu > Measurements (mpsizecharttemplate/seller/measurements). Inspect measurement definitions and uploaded diagrams submitted by sellers.Seller Size Chart Templates:
Navigate to Webkul > Marketplace Size Chart > Seller Menu > Size Chart Templates (mpsizecharttemplate/seller/templates). Audit vendor size chart matrices before or after products go live.